Motor Soldering Guide
Guide for soldering male connectors to motor wires.
1. Prepare the Motor and Wires
- Take the motor out of the box.
- Use wire cutters to remove the original connectors.
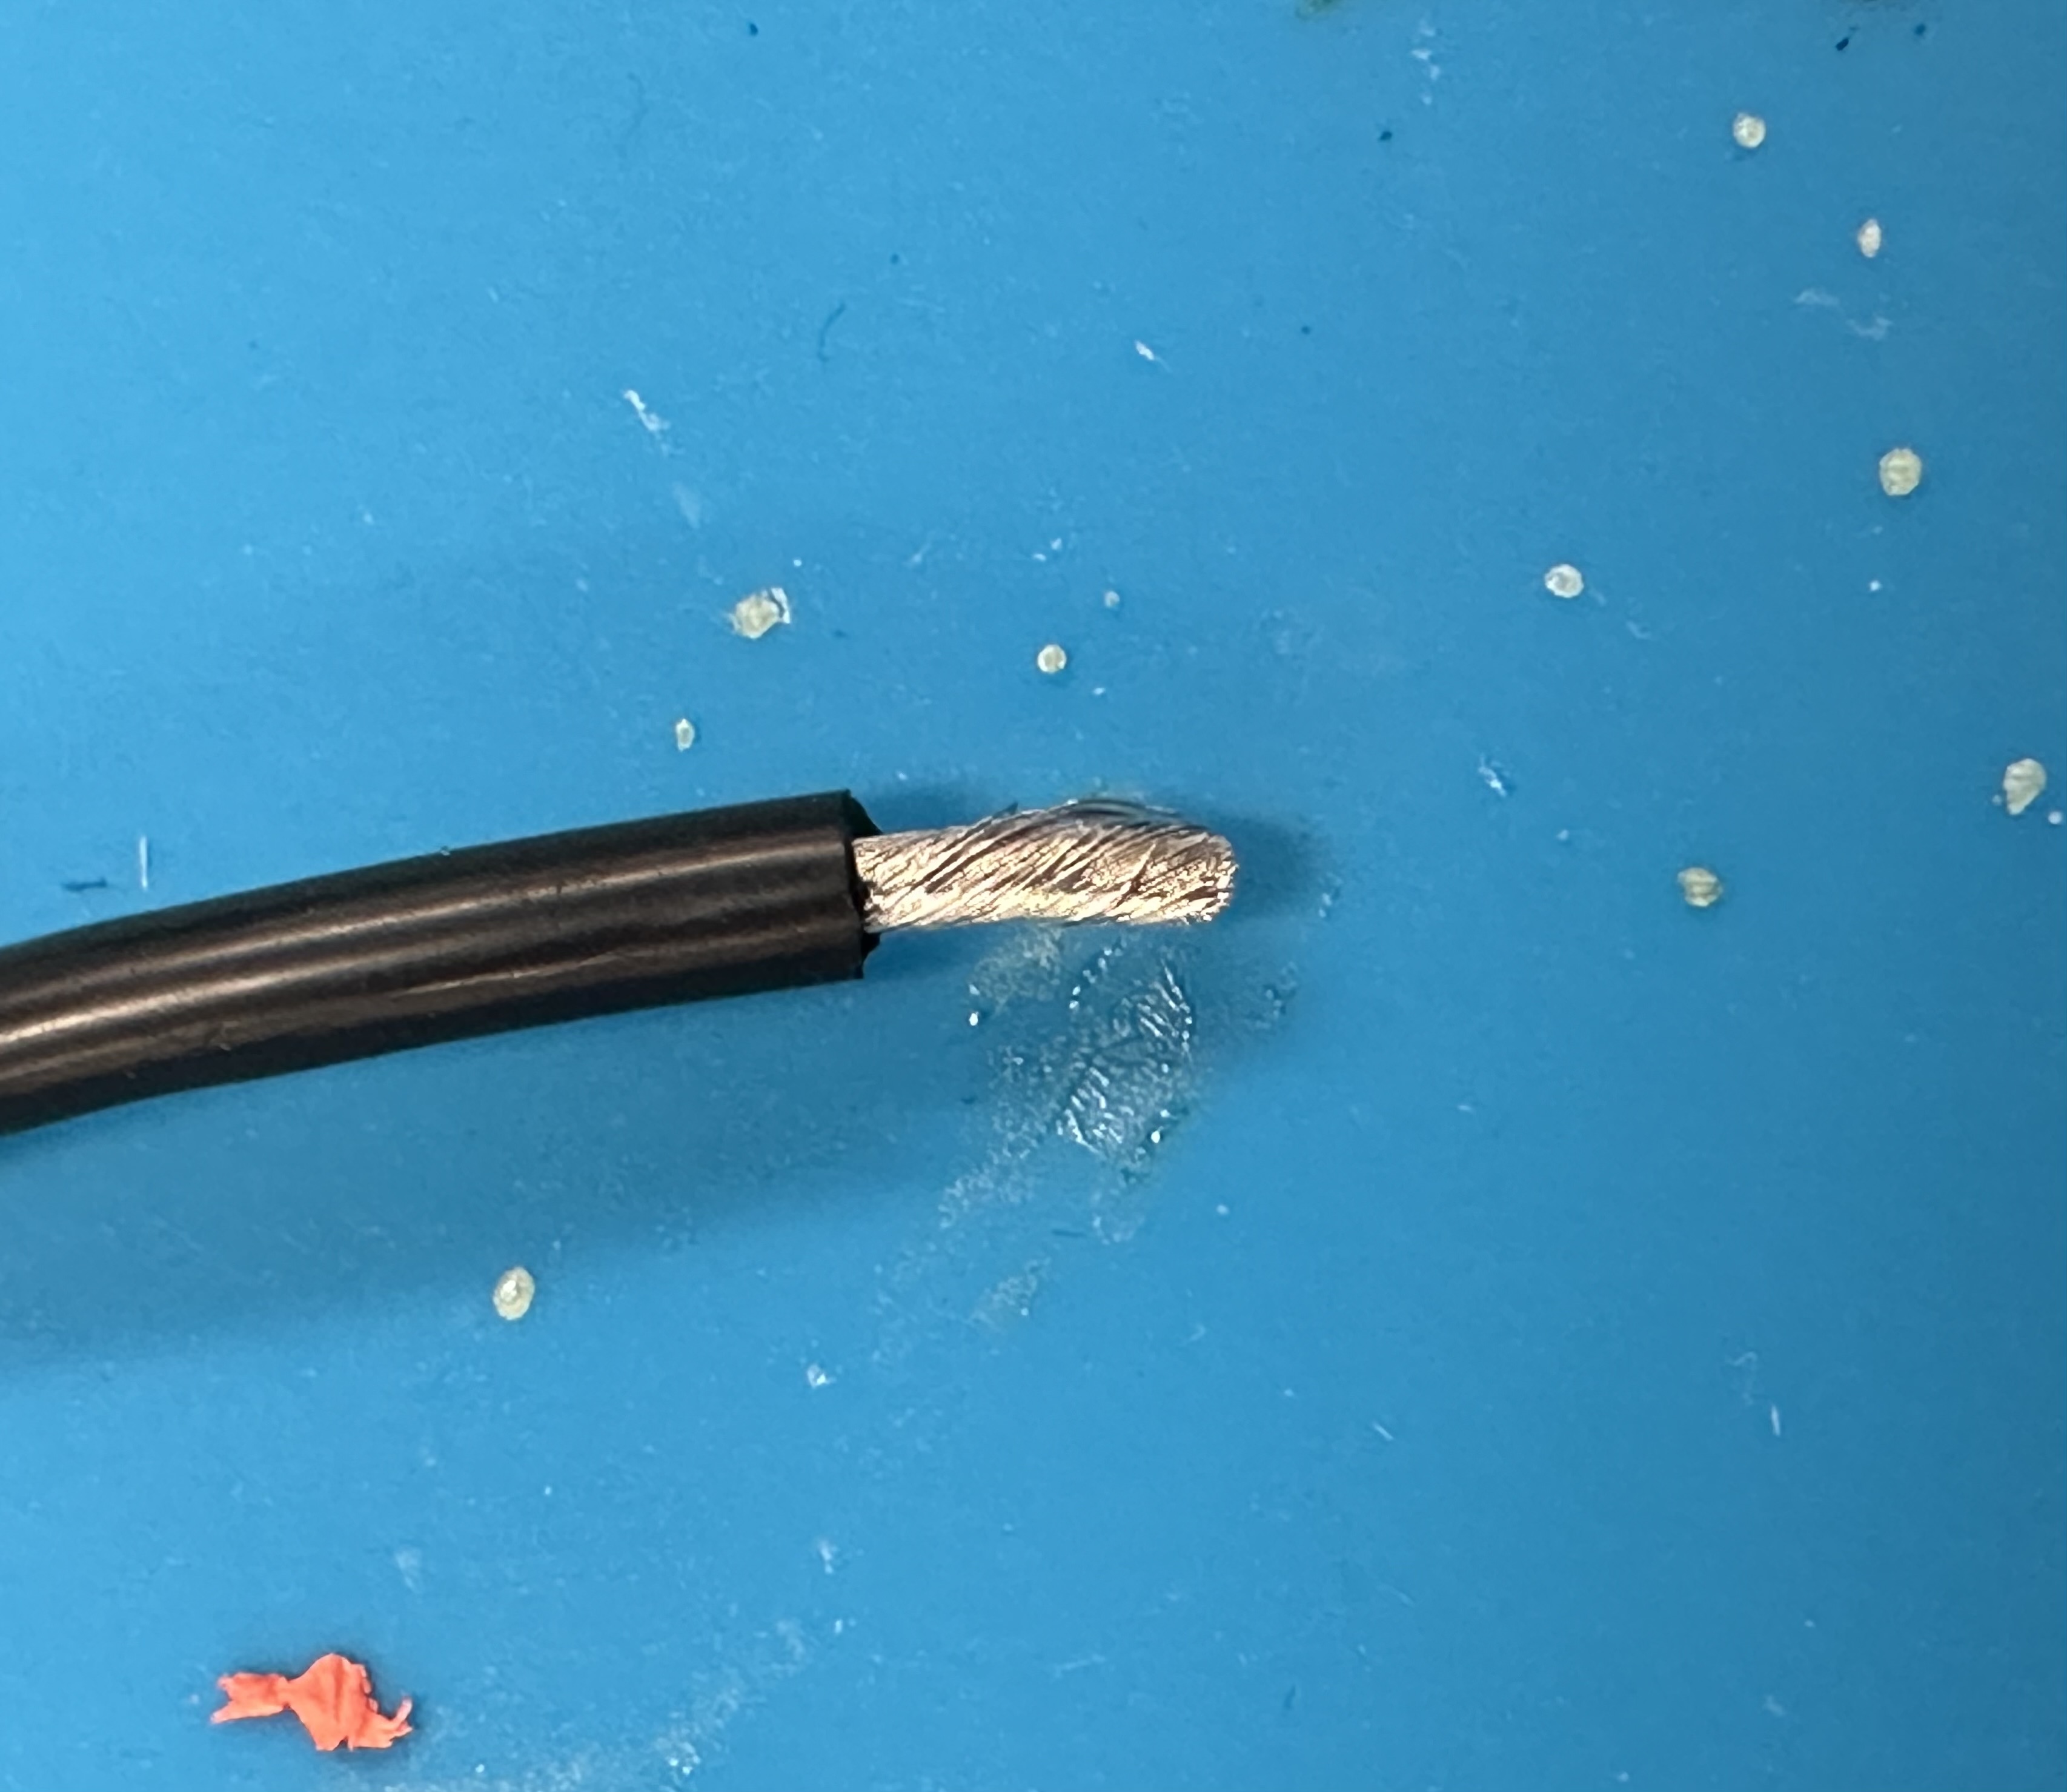
2. Strip the Wire Insulation
- Use a wire stripper to remove about 3mm of insulation.

- Twist the exposed wire so no strands are loose.
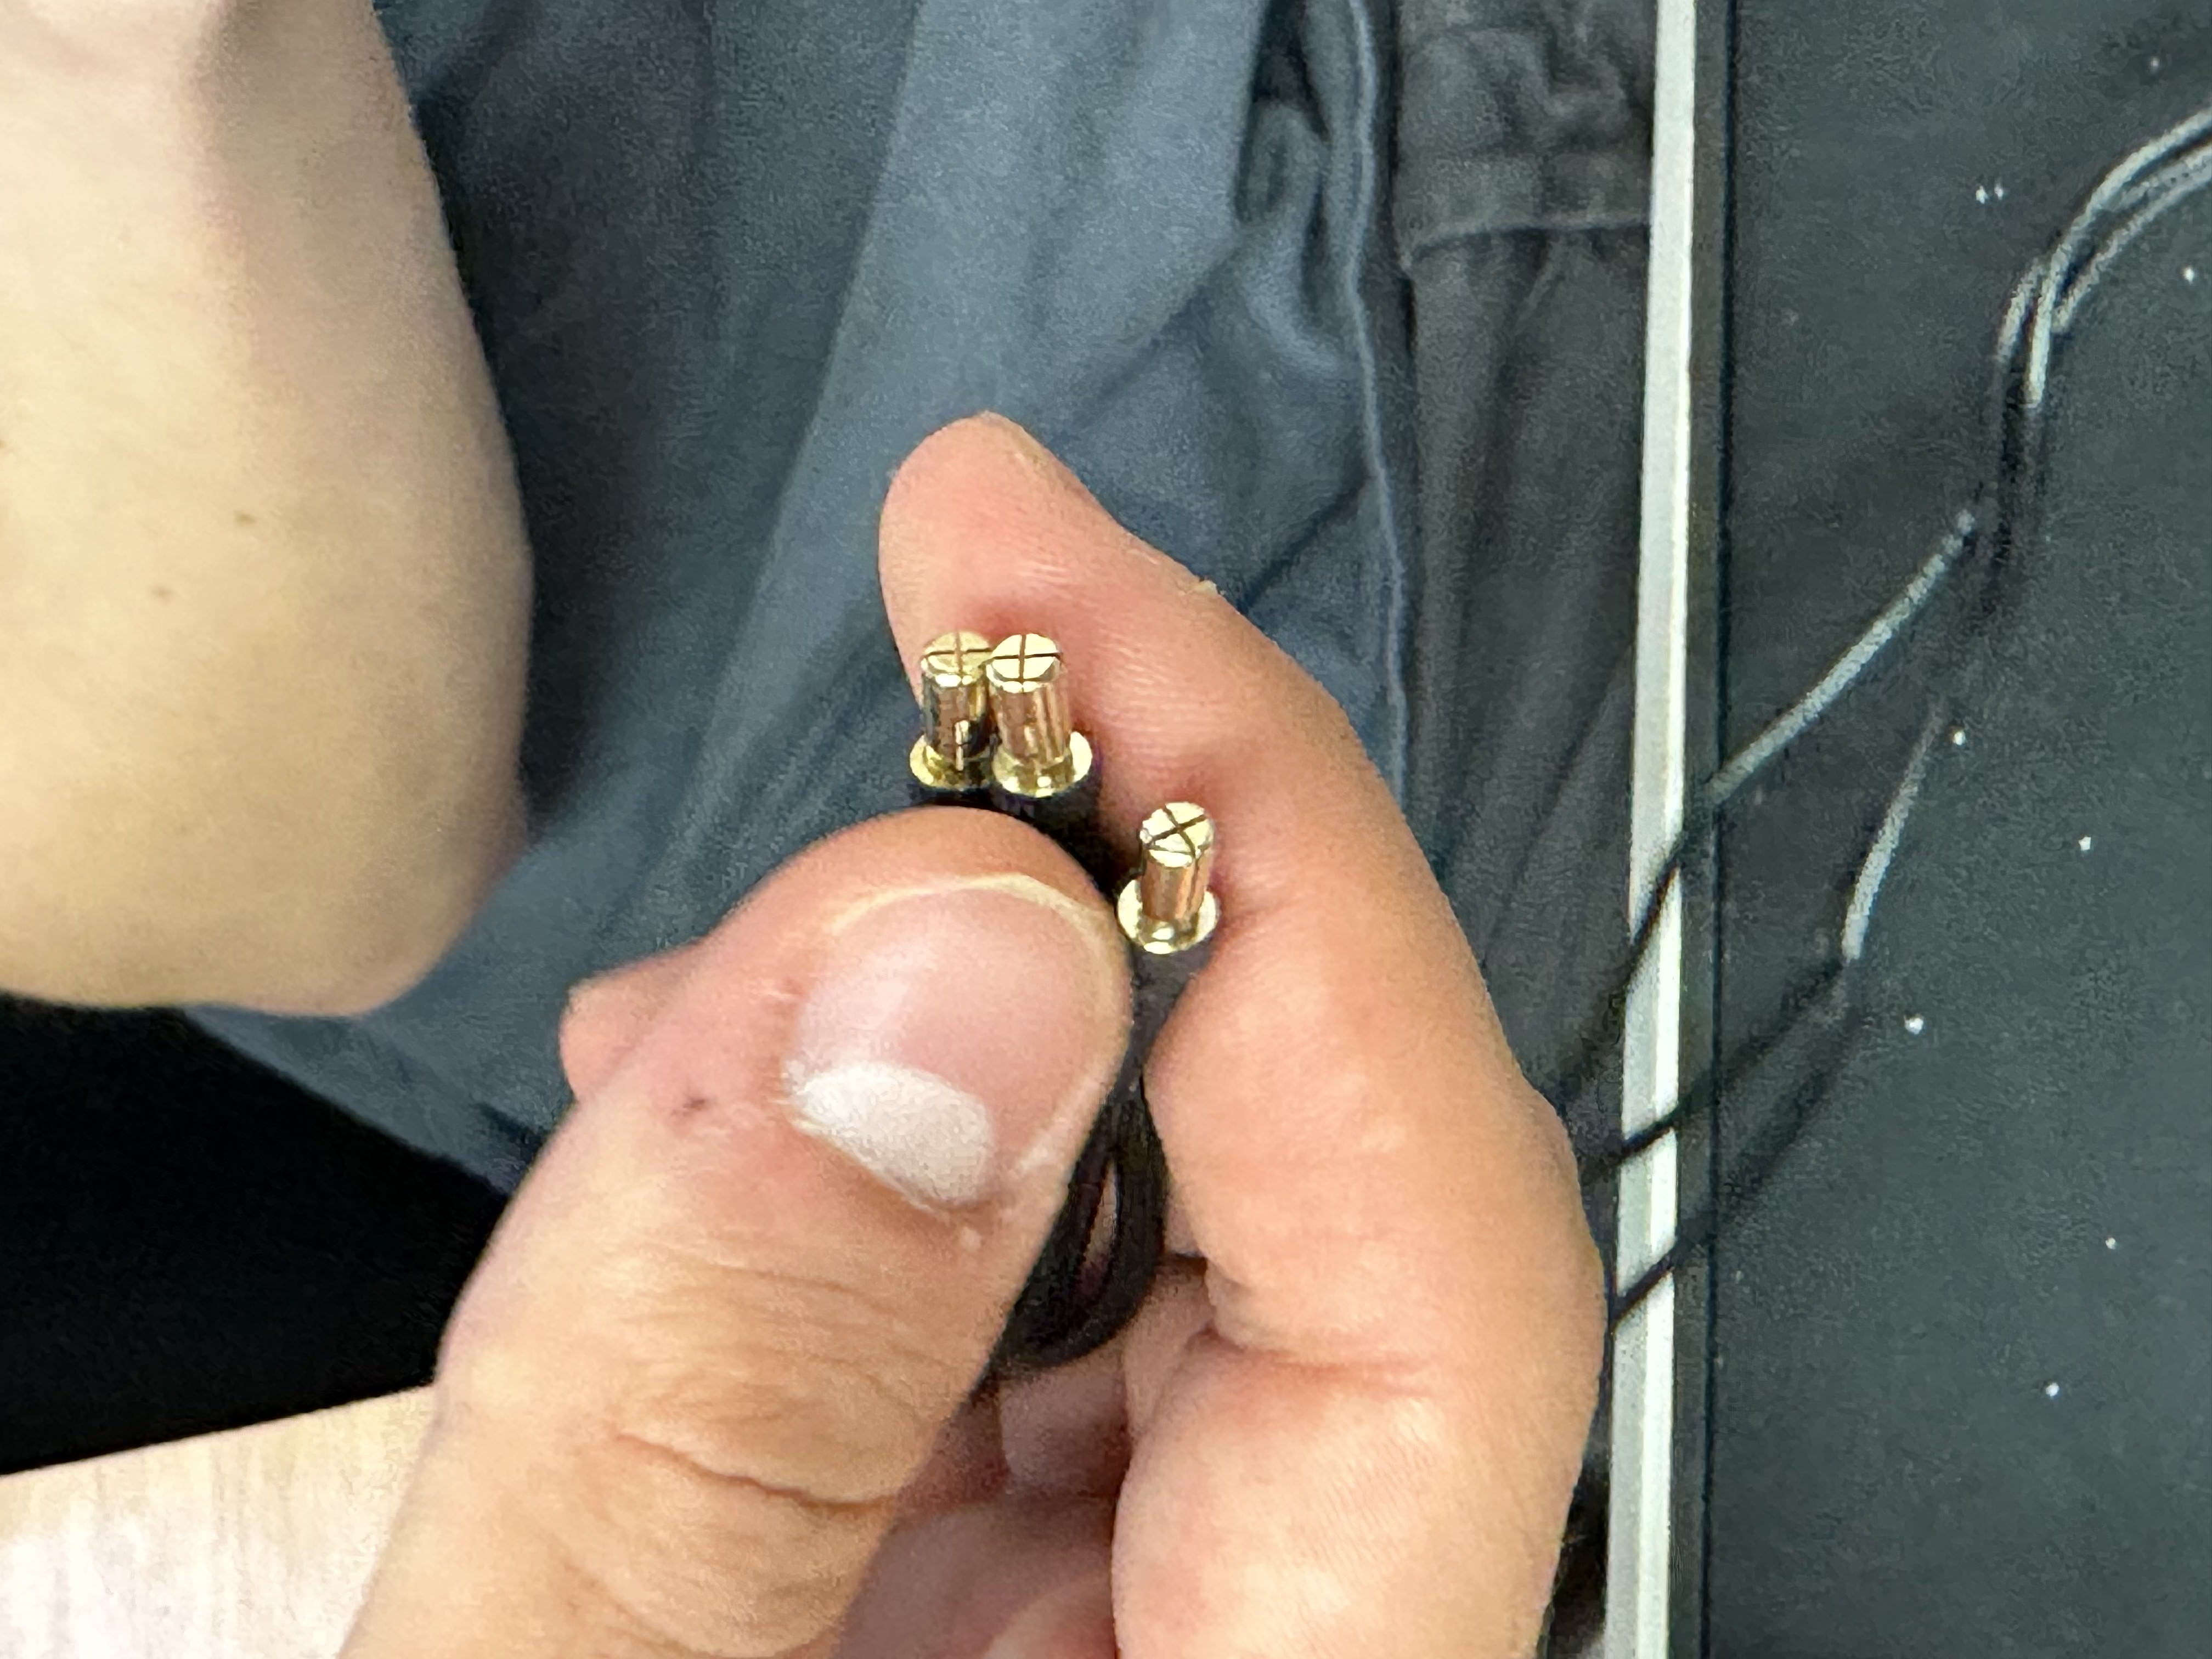
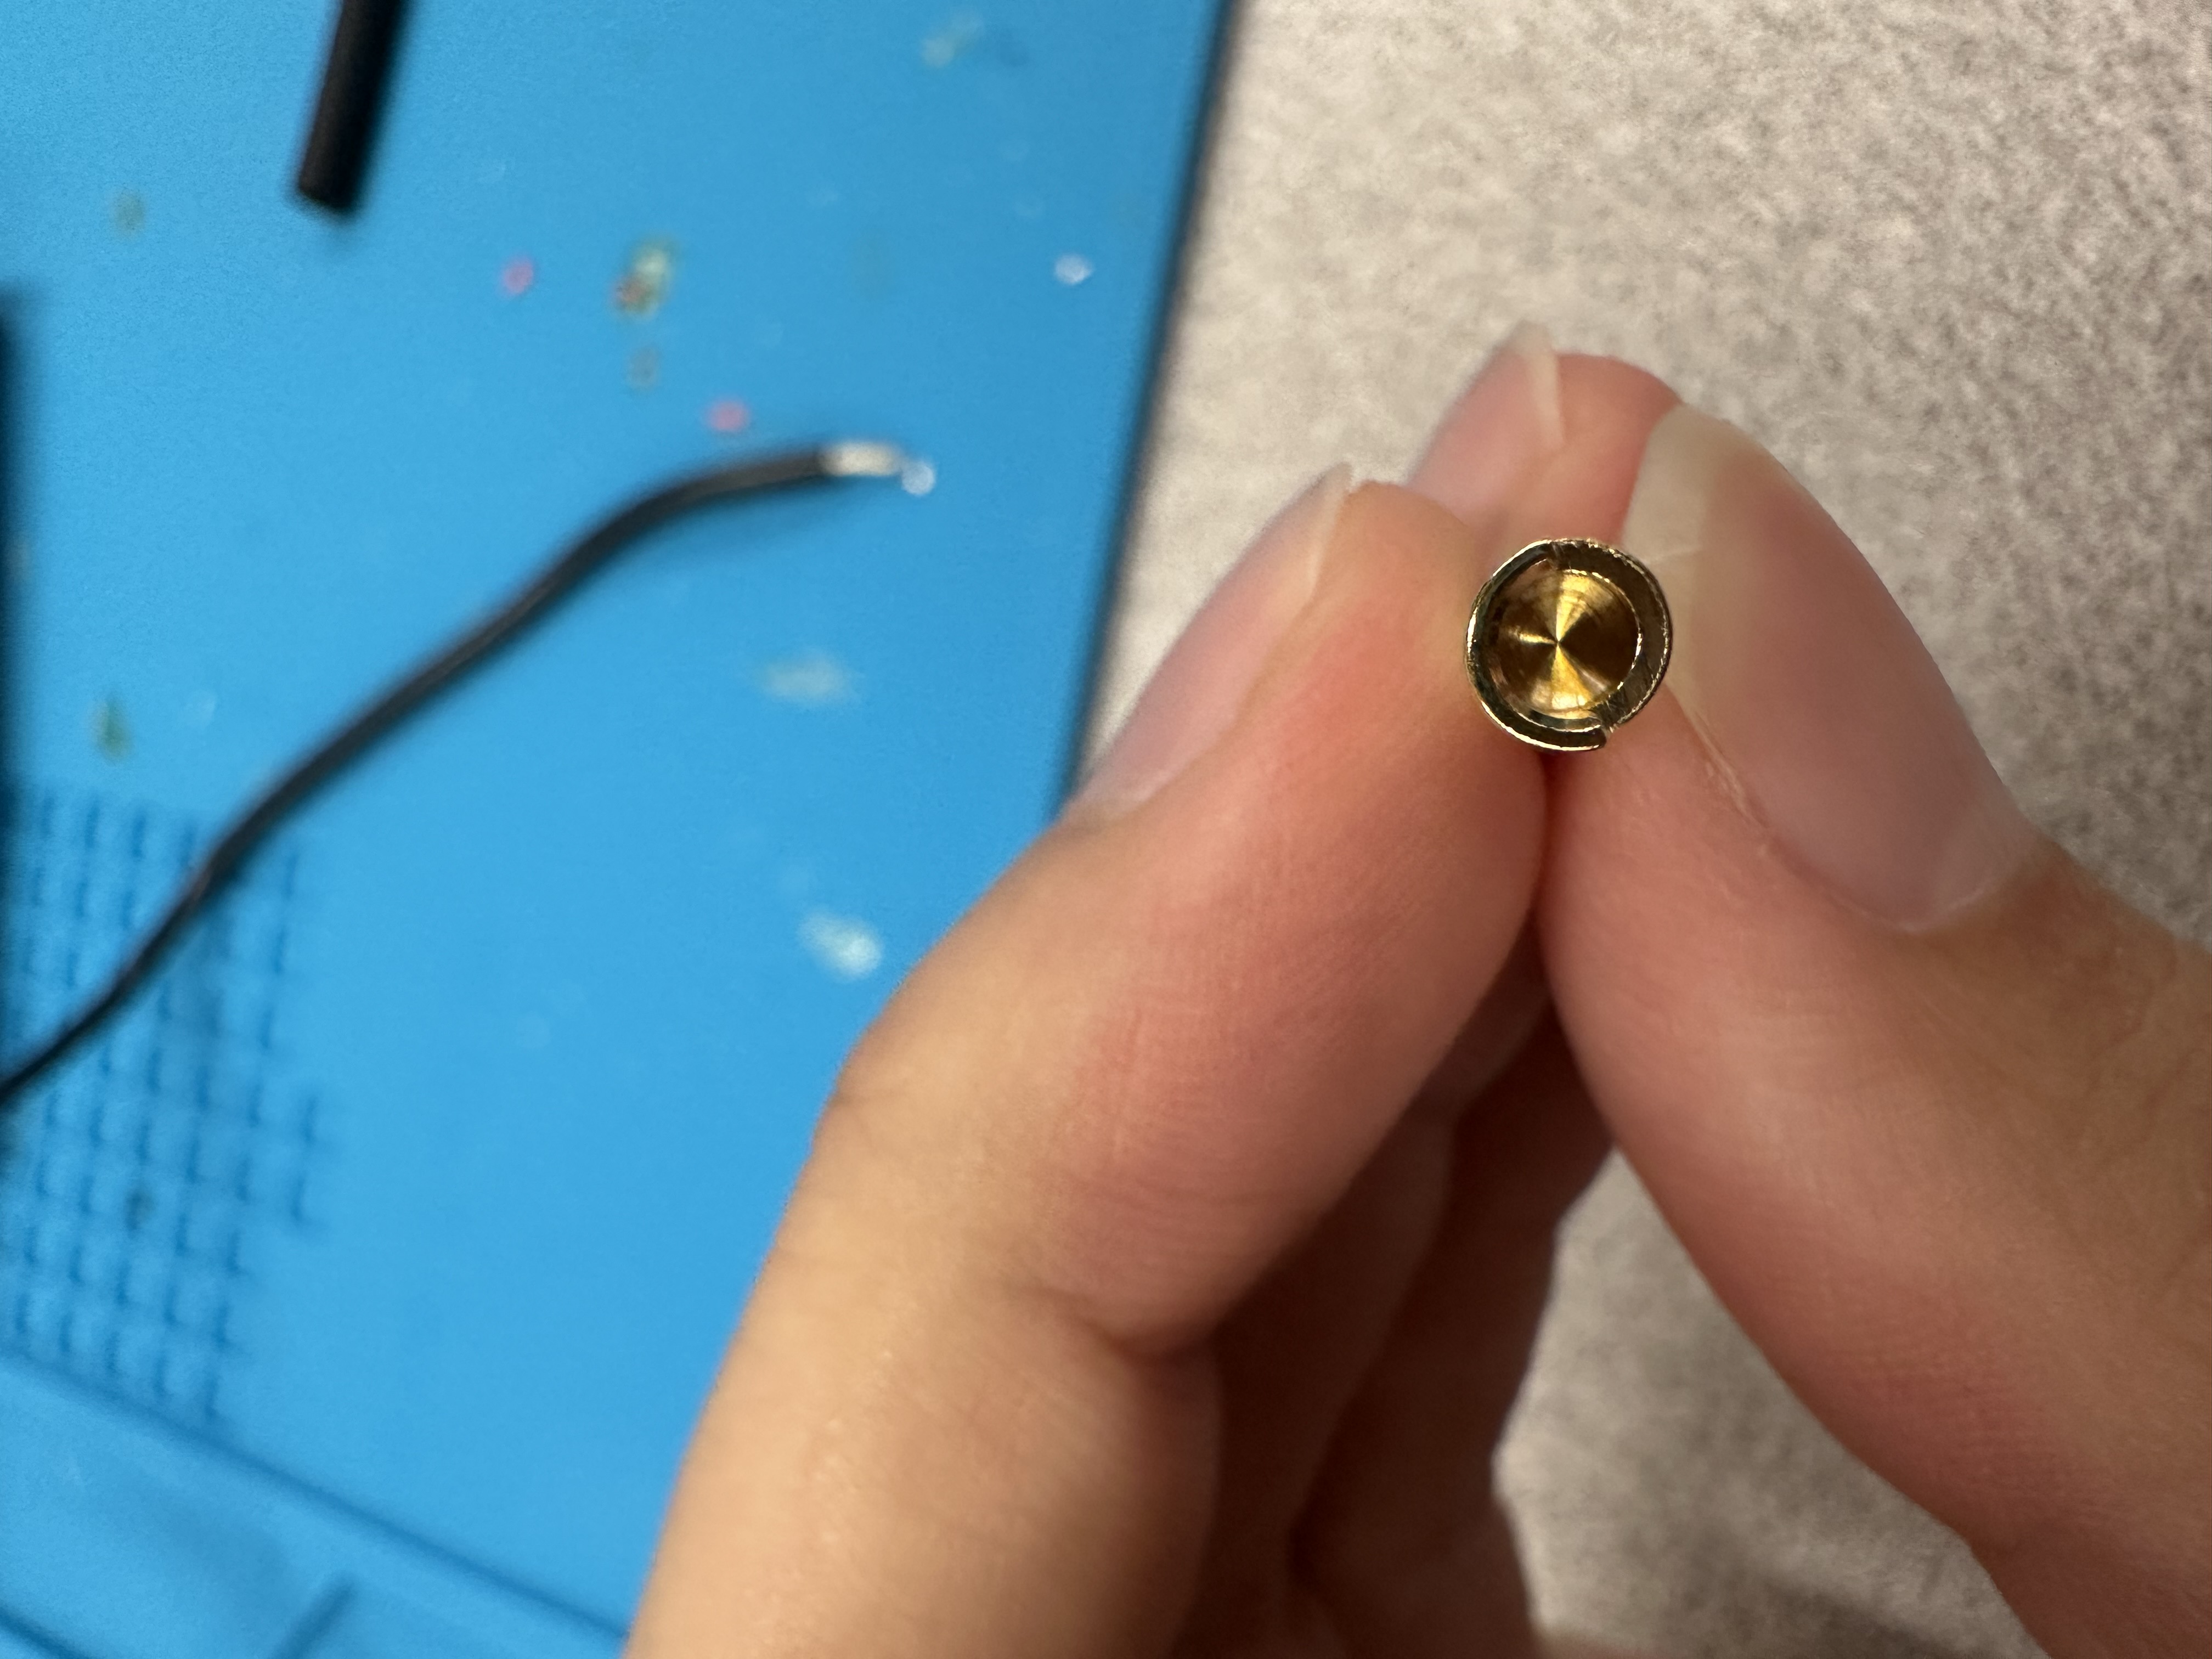
3. Prepare the Connector
- Grab a male connector.
- Place the wire and connector on a soldering mat.
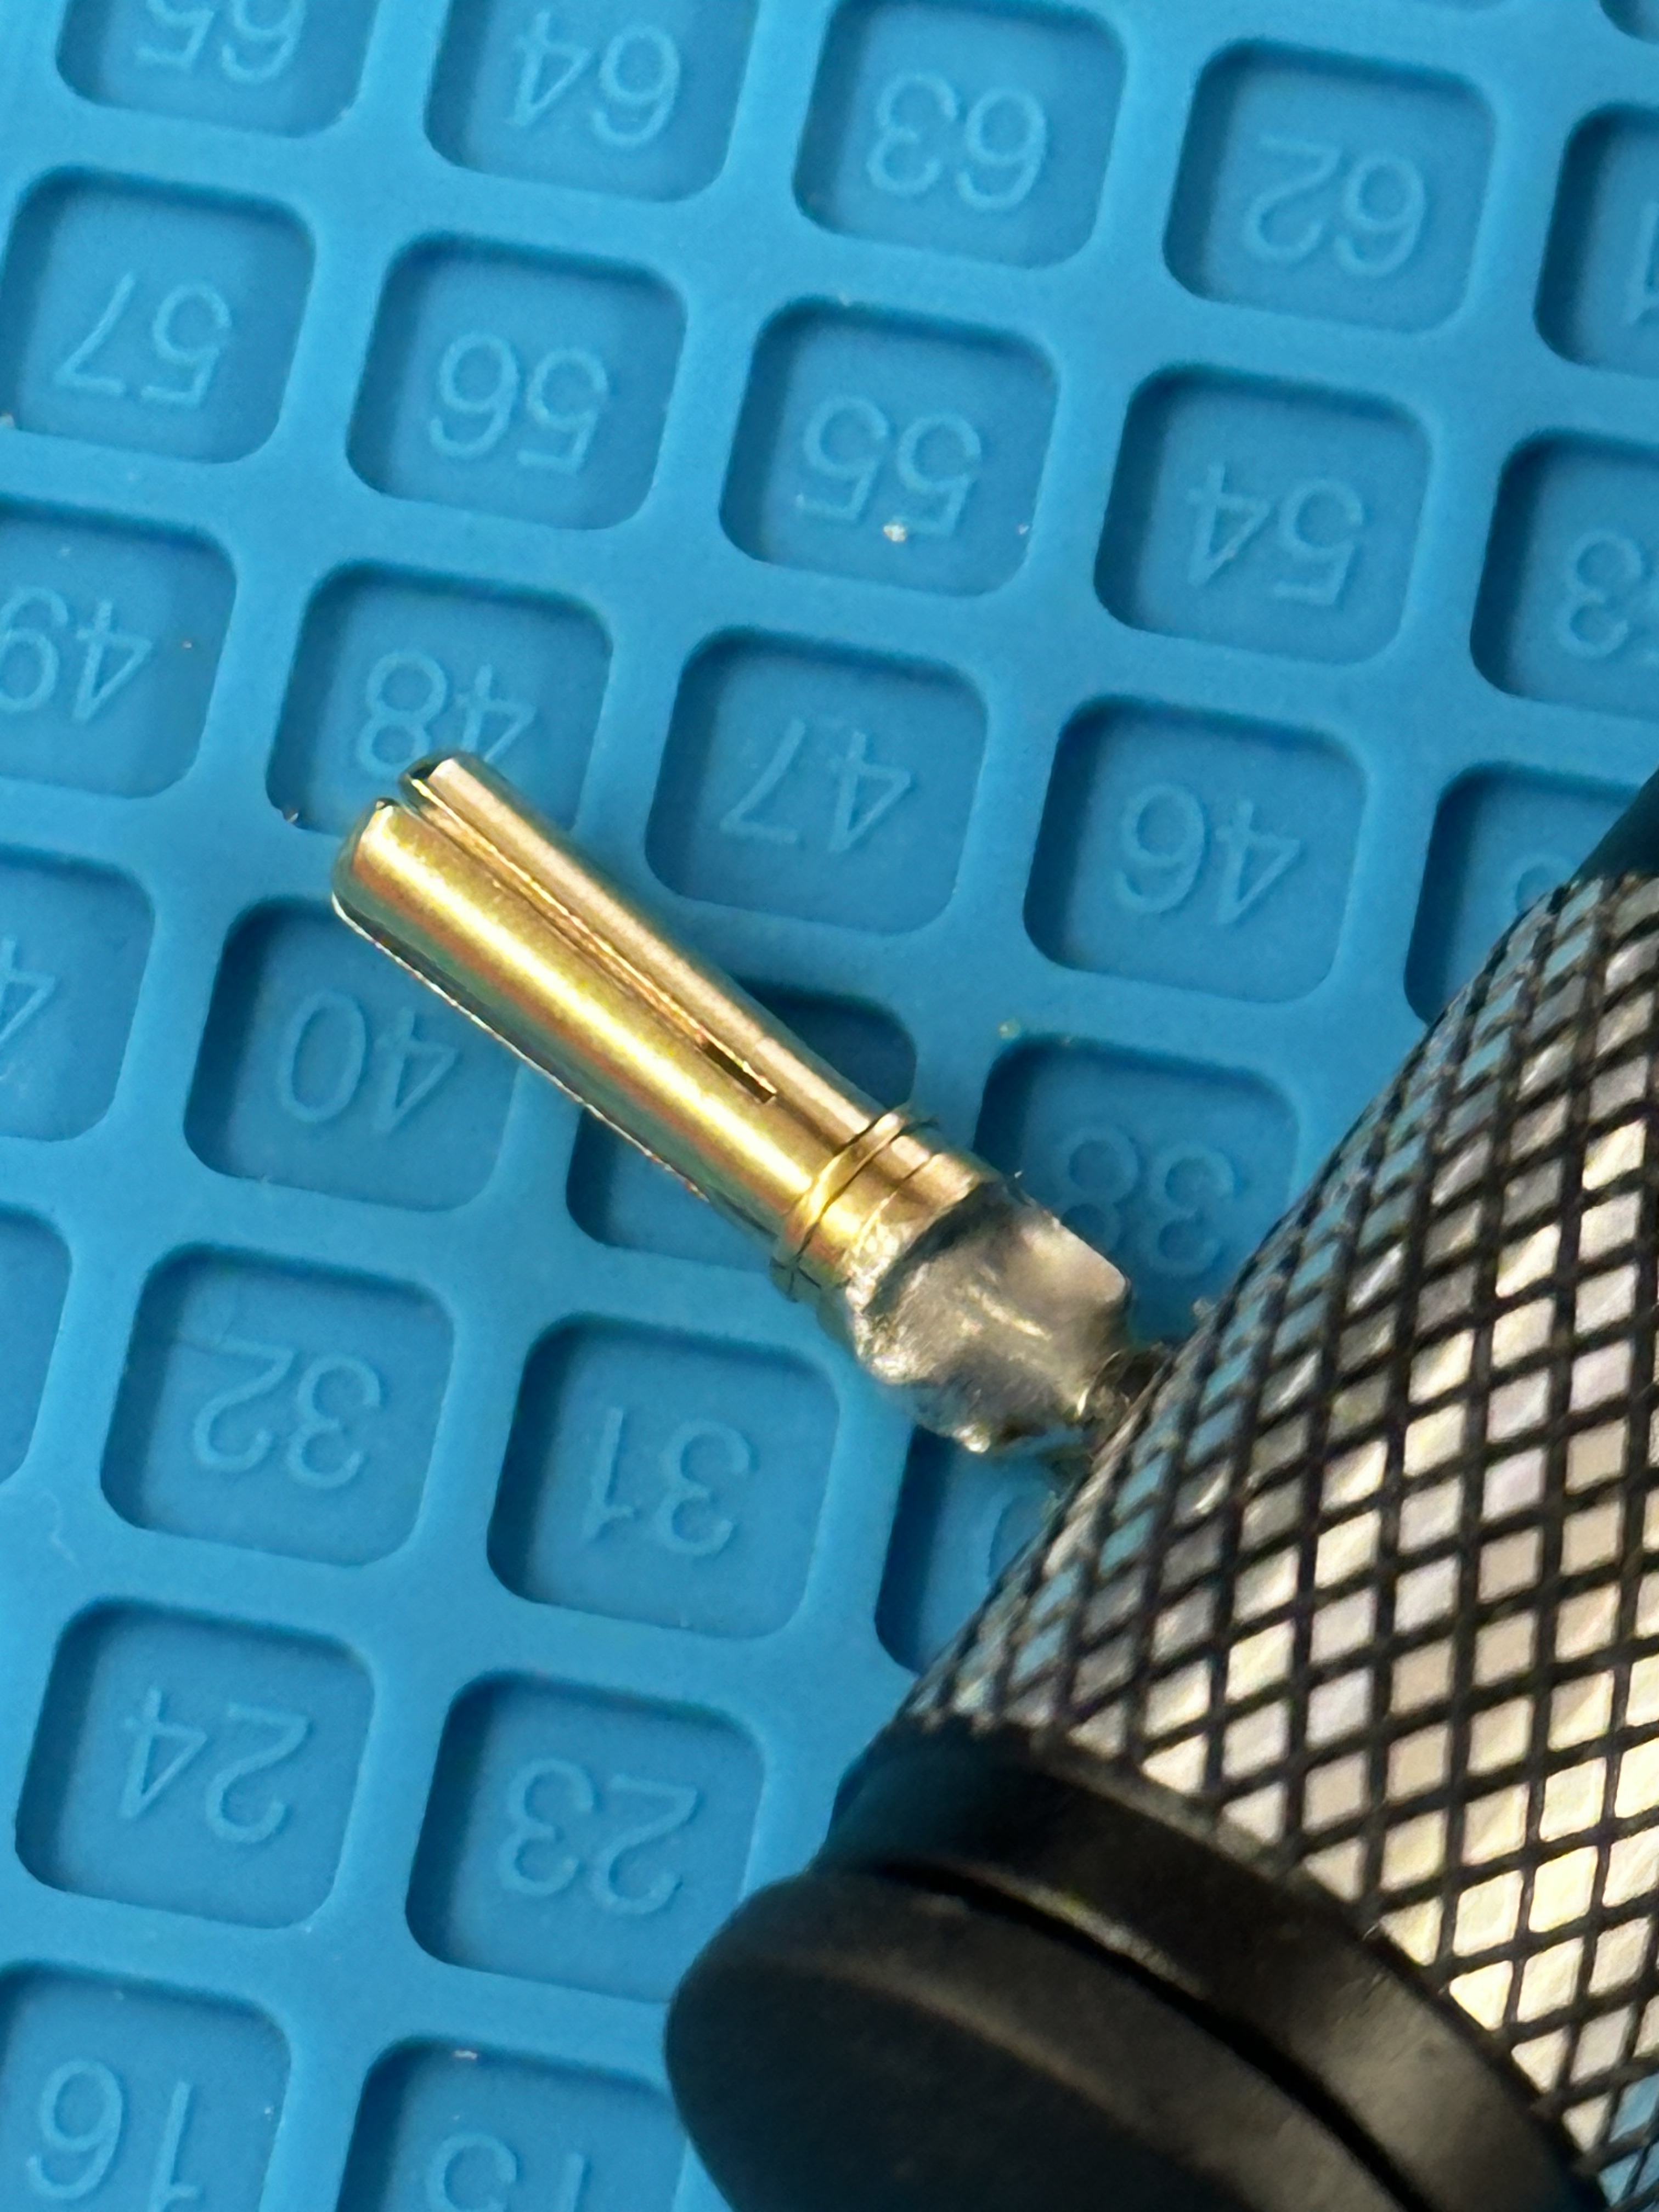
- Align the tip of the wire so the insulation meets the connector’s end.
Notice the cone-shaped tip in the image below.
- Use a heavy object to press down on the wire and another to secure the connector.
4. Prepare the Soldering Iron
- Turn on the fume extractor/fan and your soldering iron.
- Set the iron to 400°C (750°F).
- Clean and tin the tip by applying solder before use.
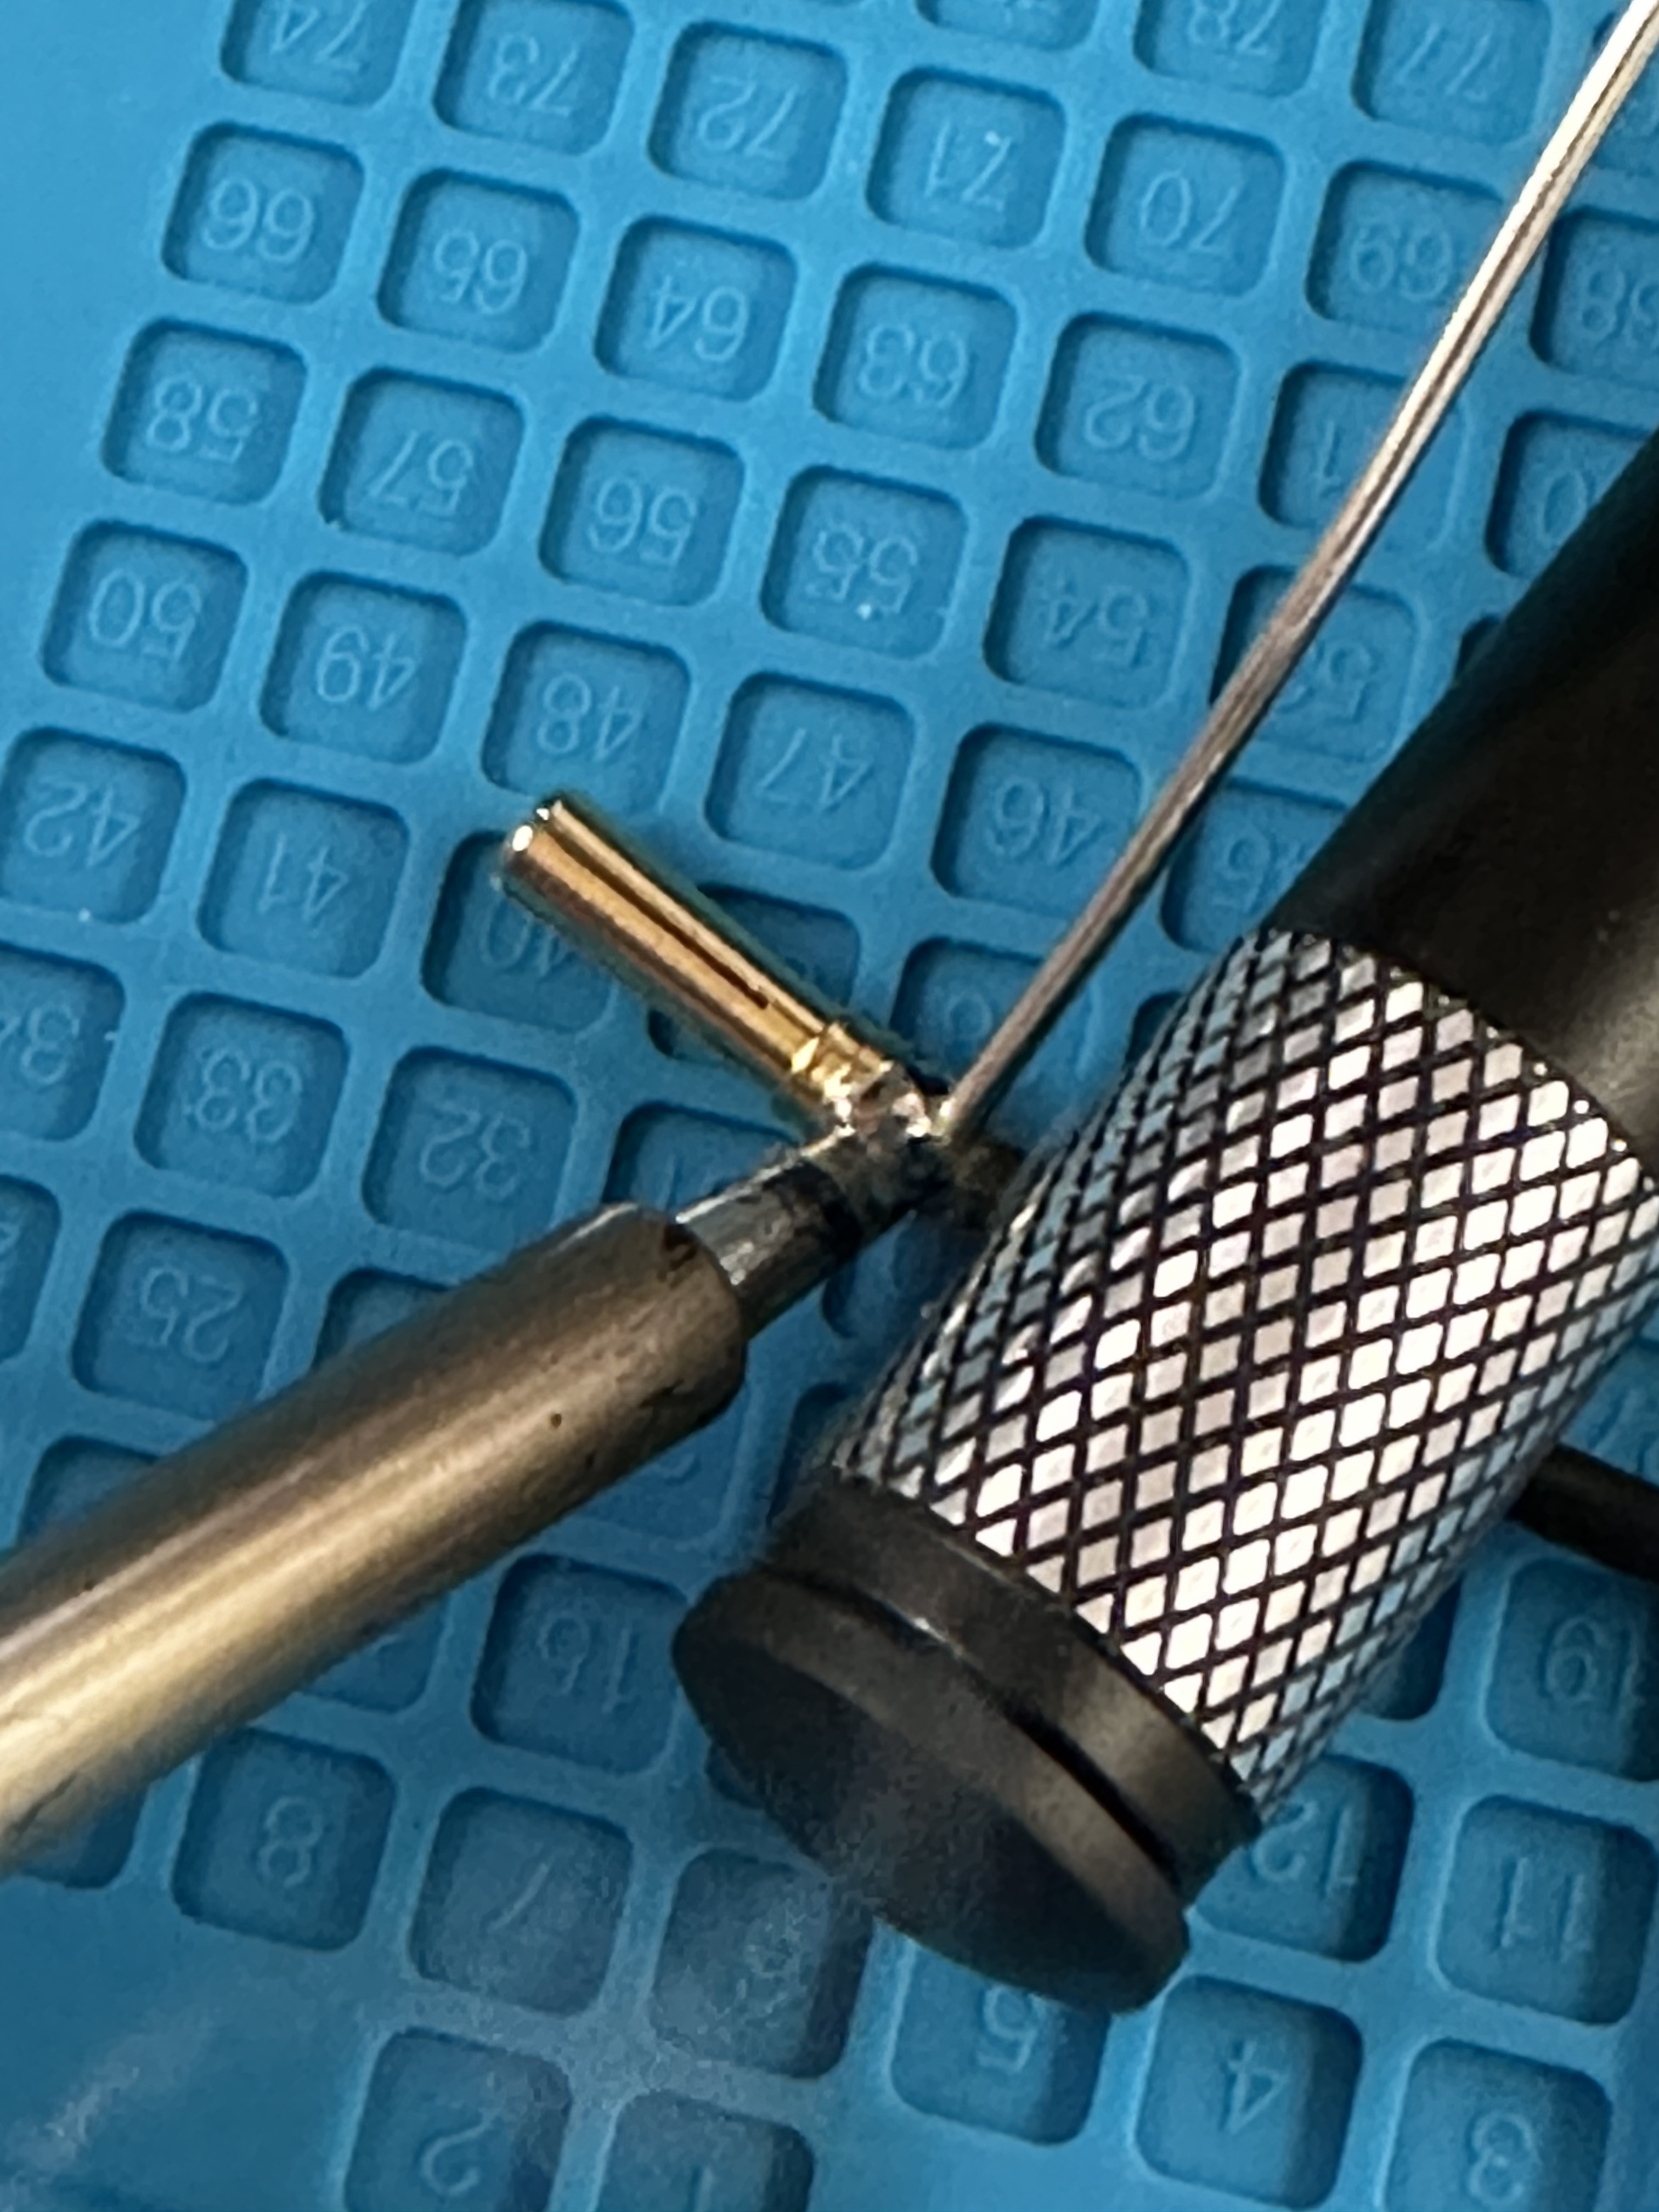
5. Solder the Wire to the Connector
- Press the iron where the wire and connector meet.
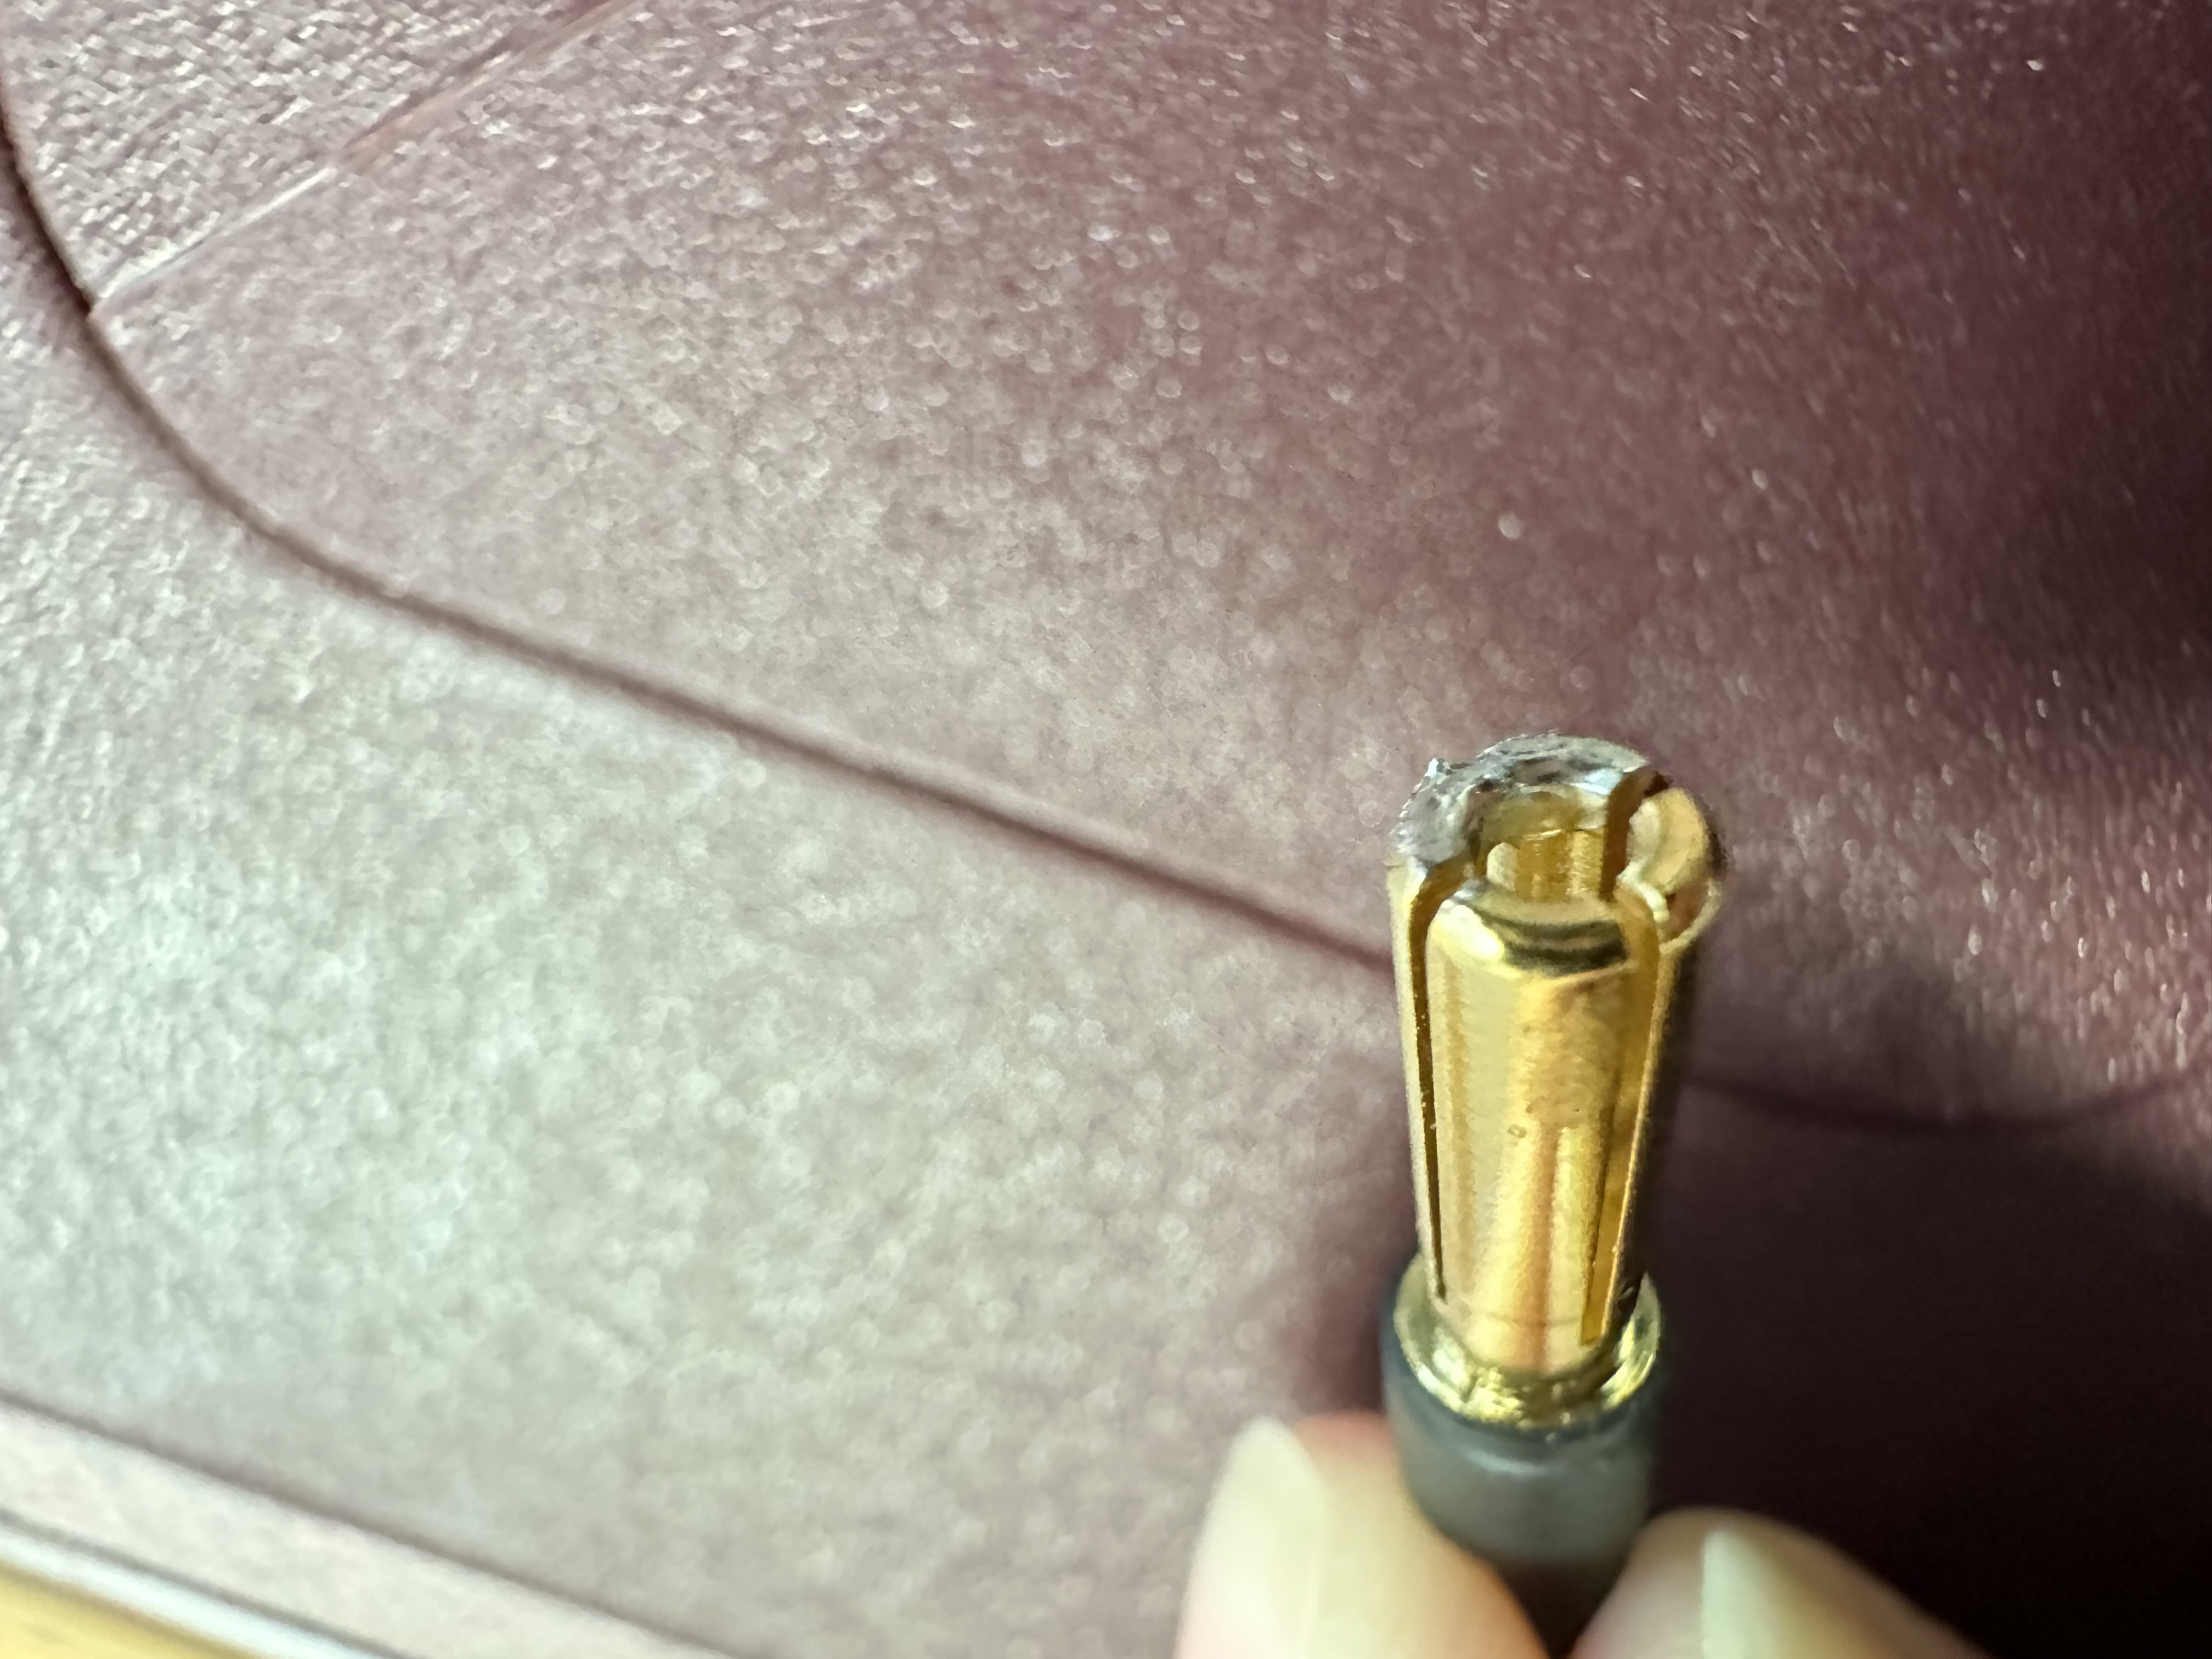
Warning
Do not touch the connector’s tip directly — the one below is scrapped.
- Touch the solder to the iron—it should melt instantly.
- Feed solder into the joint until the wire is fully covered and gaps are filled.
Warning
Avoid soldering the outside surface of the connector.
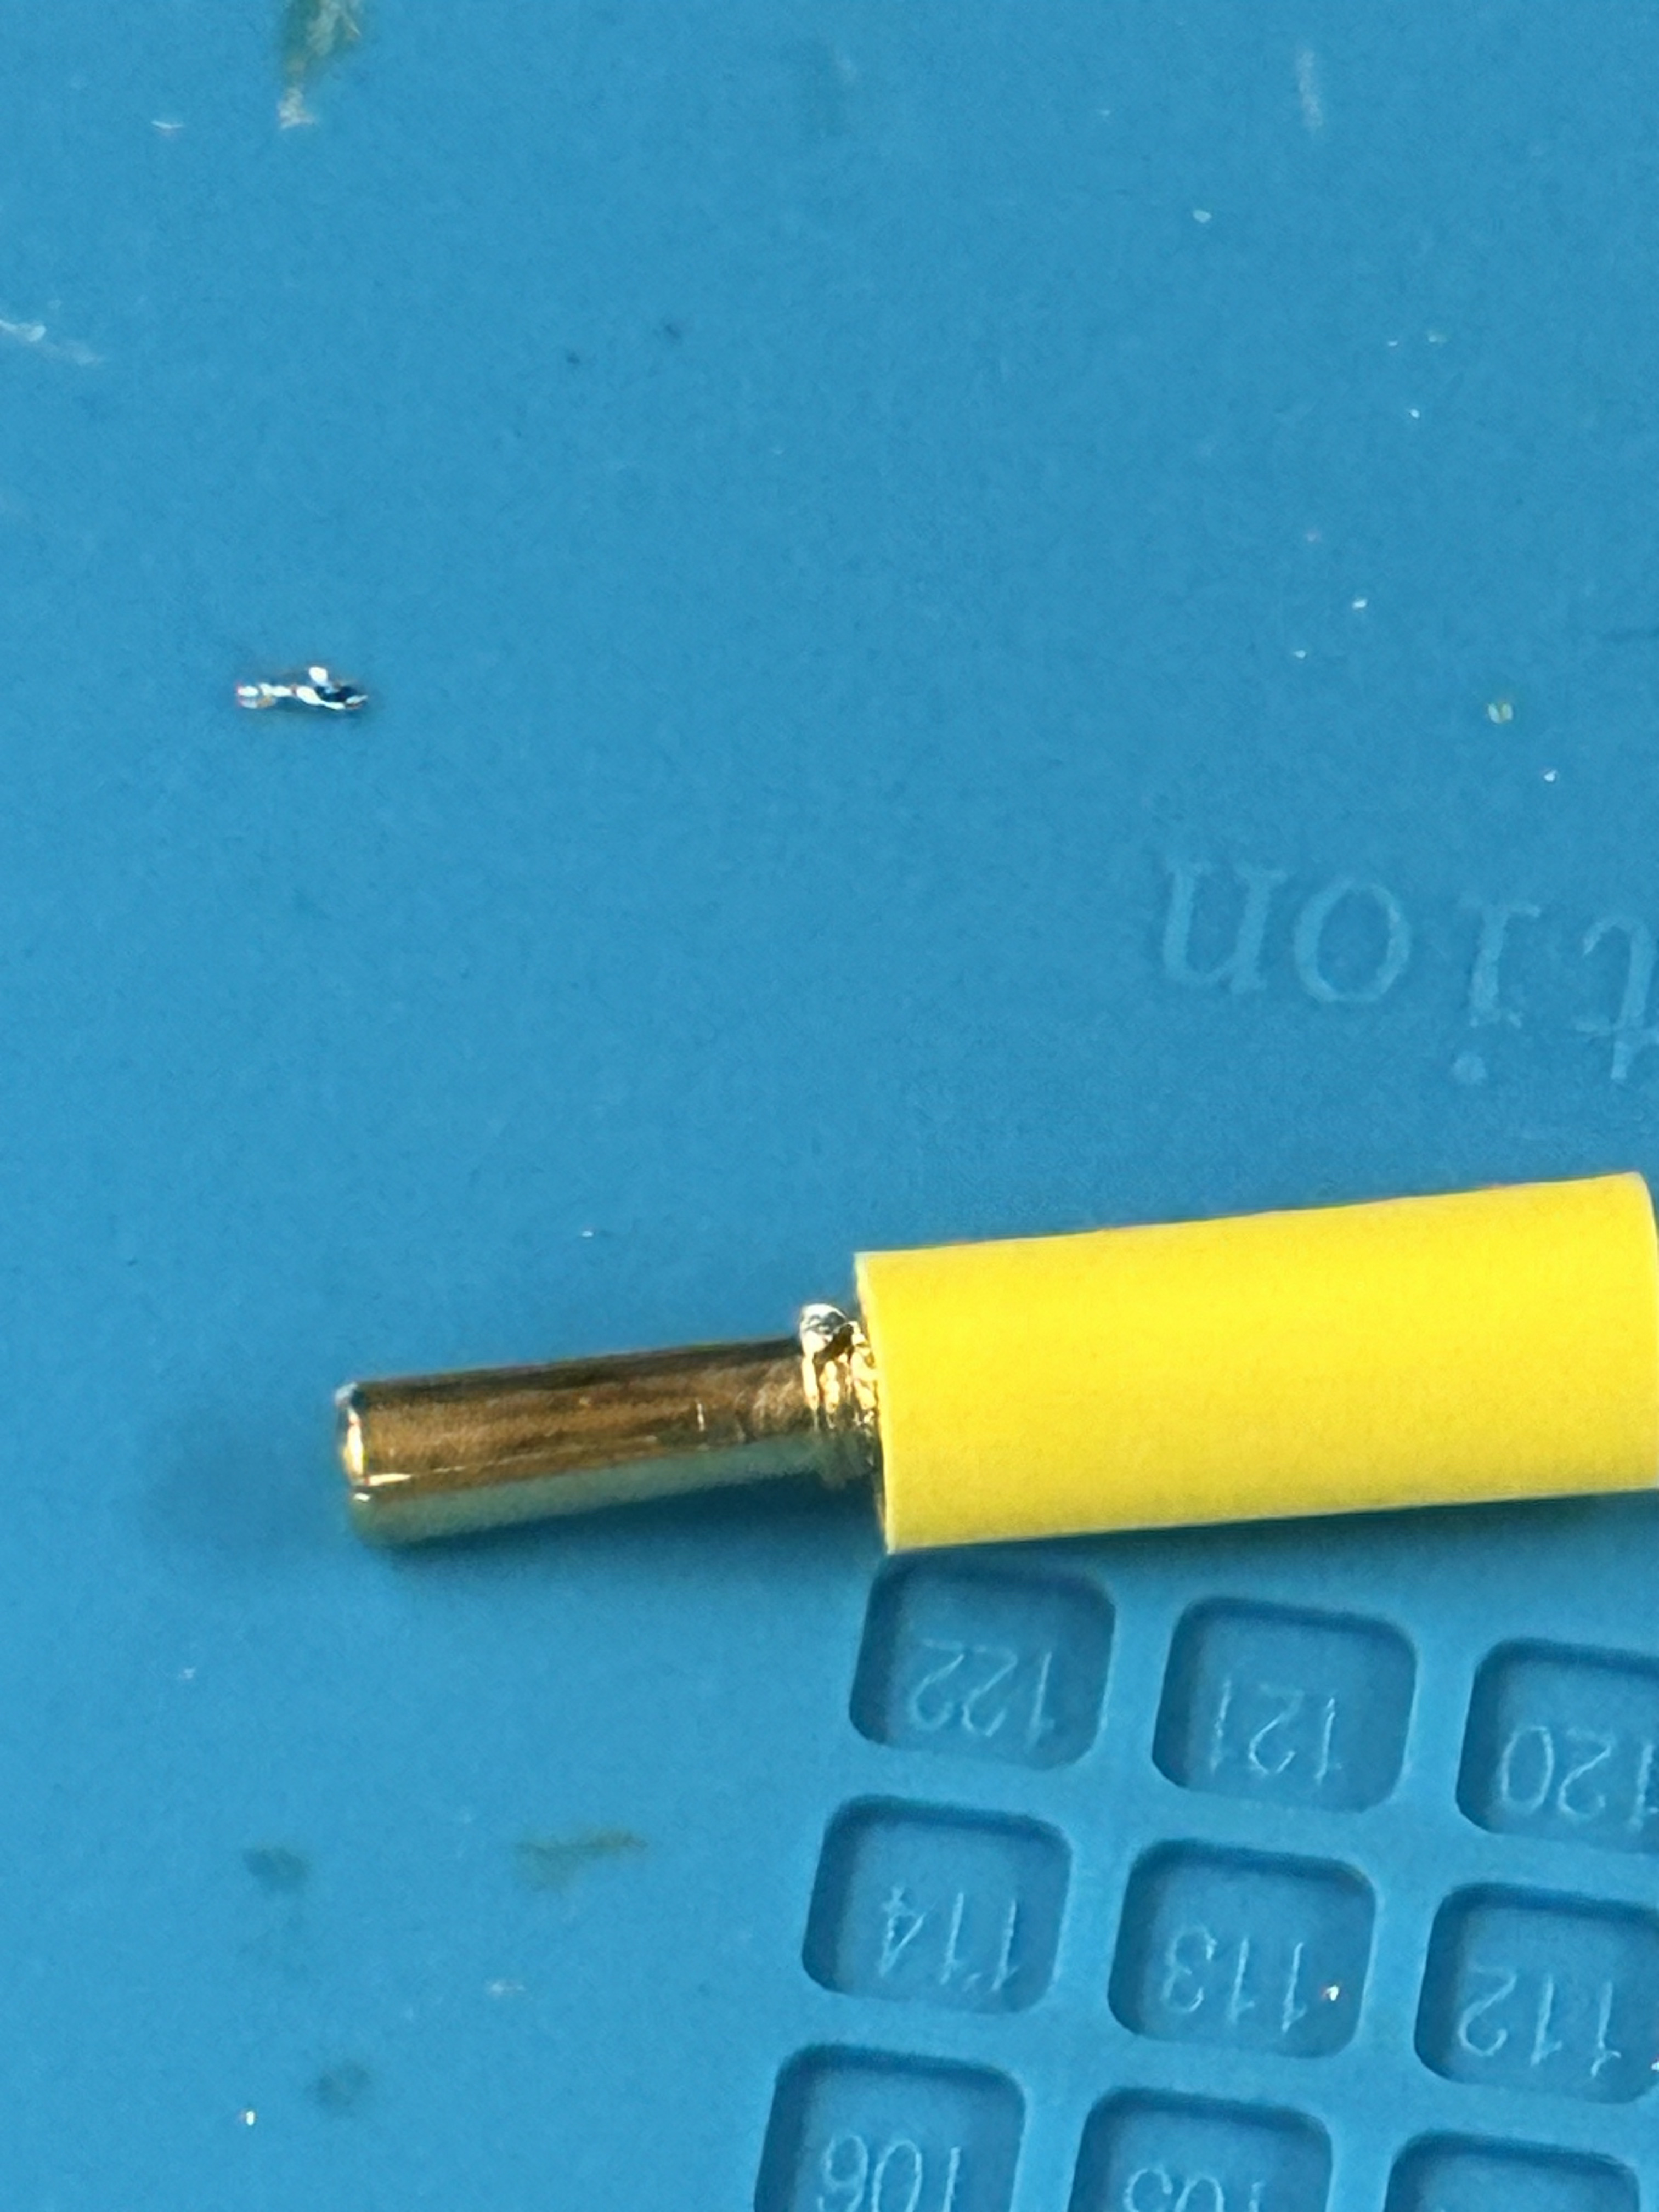
6. Check and Secure the Solder Joint
- Lift the iron and let the solder cool.
- If needed, reheat to adjust or add more solder.
- Once cooled, test the joint’s strength by gently pulling with pliers.
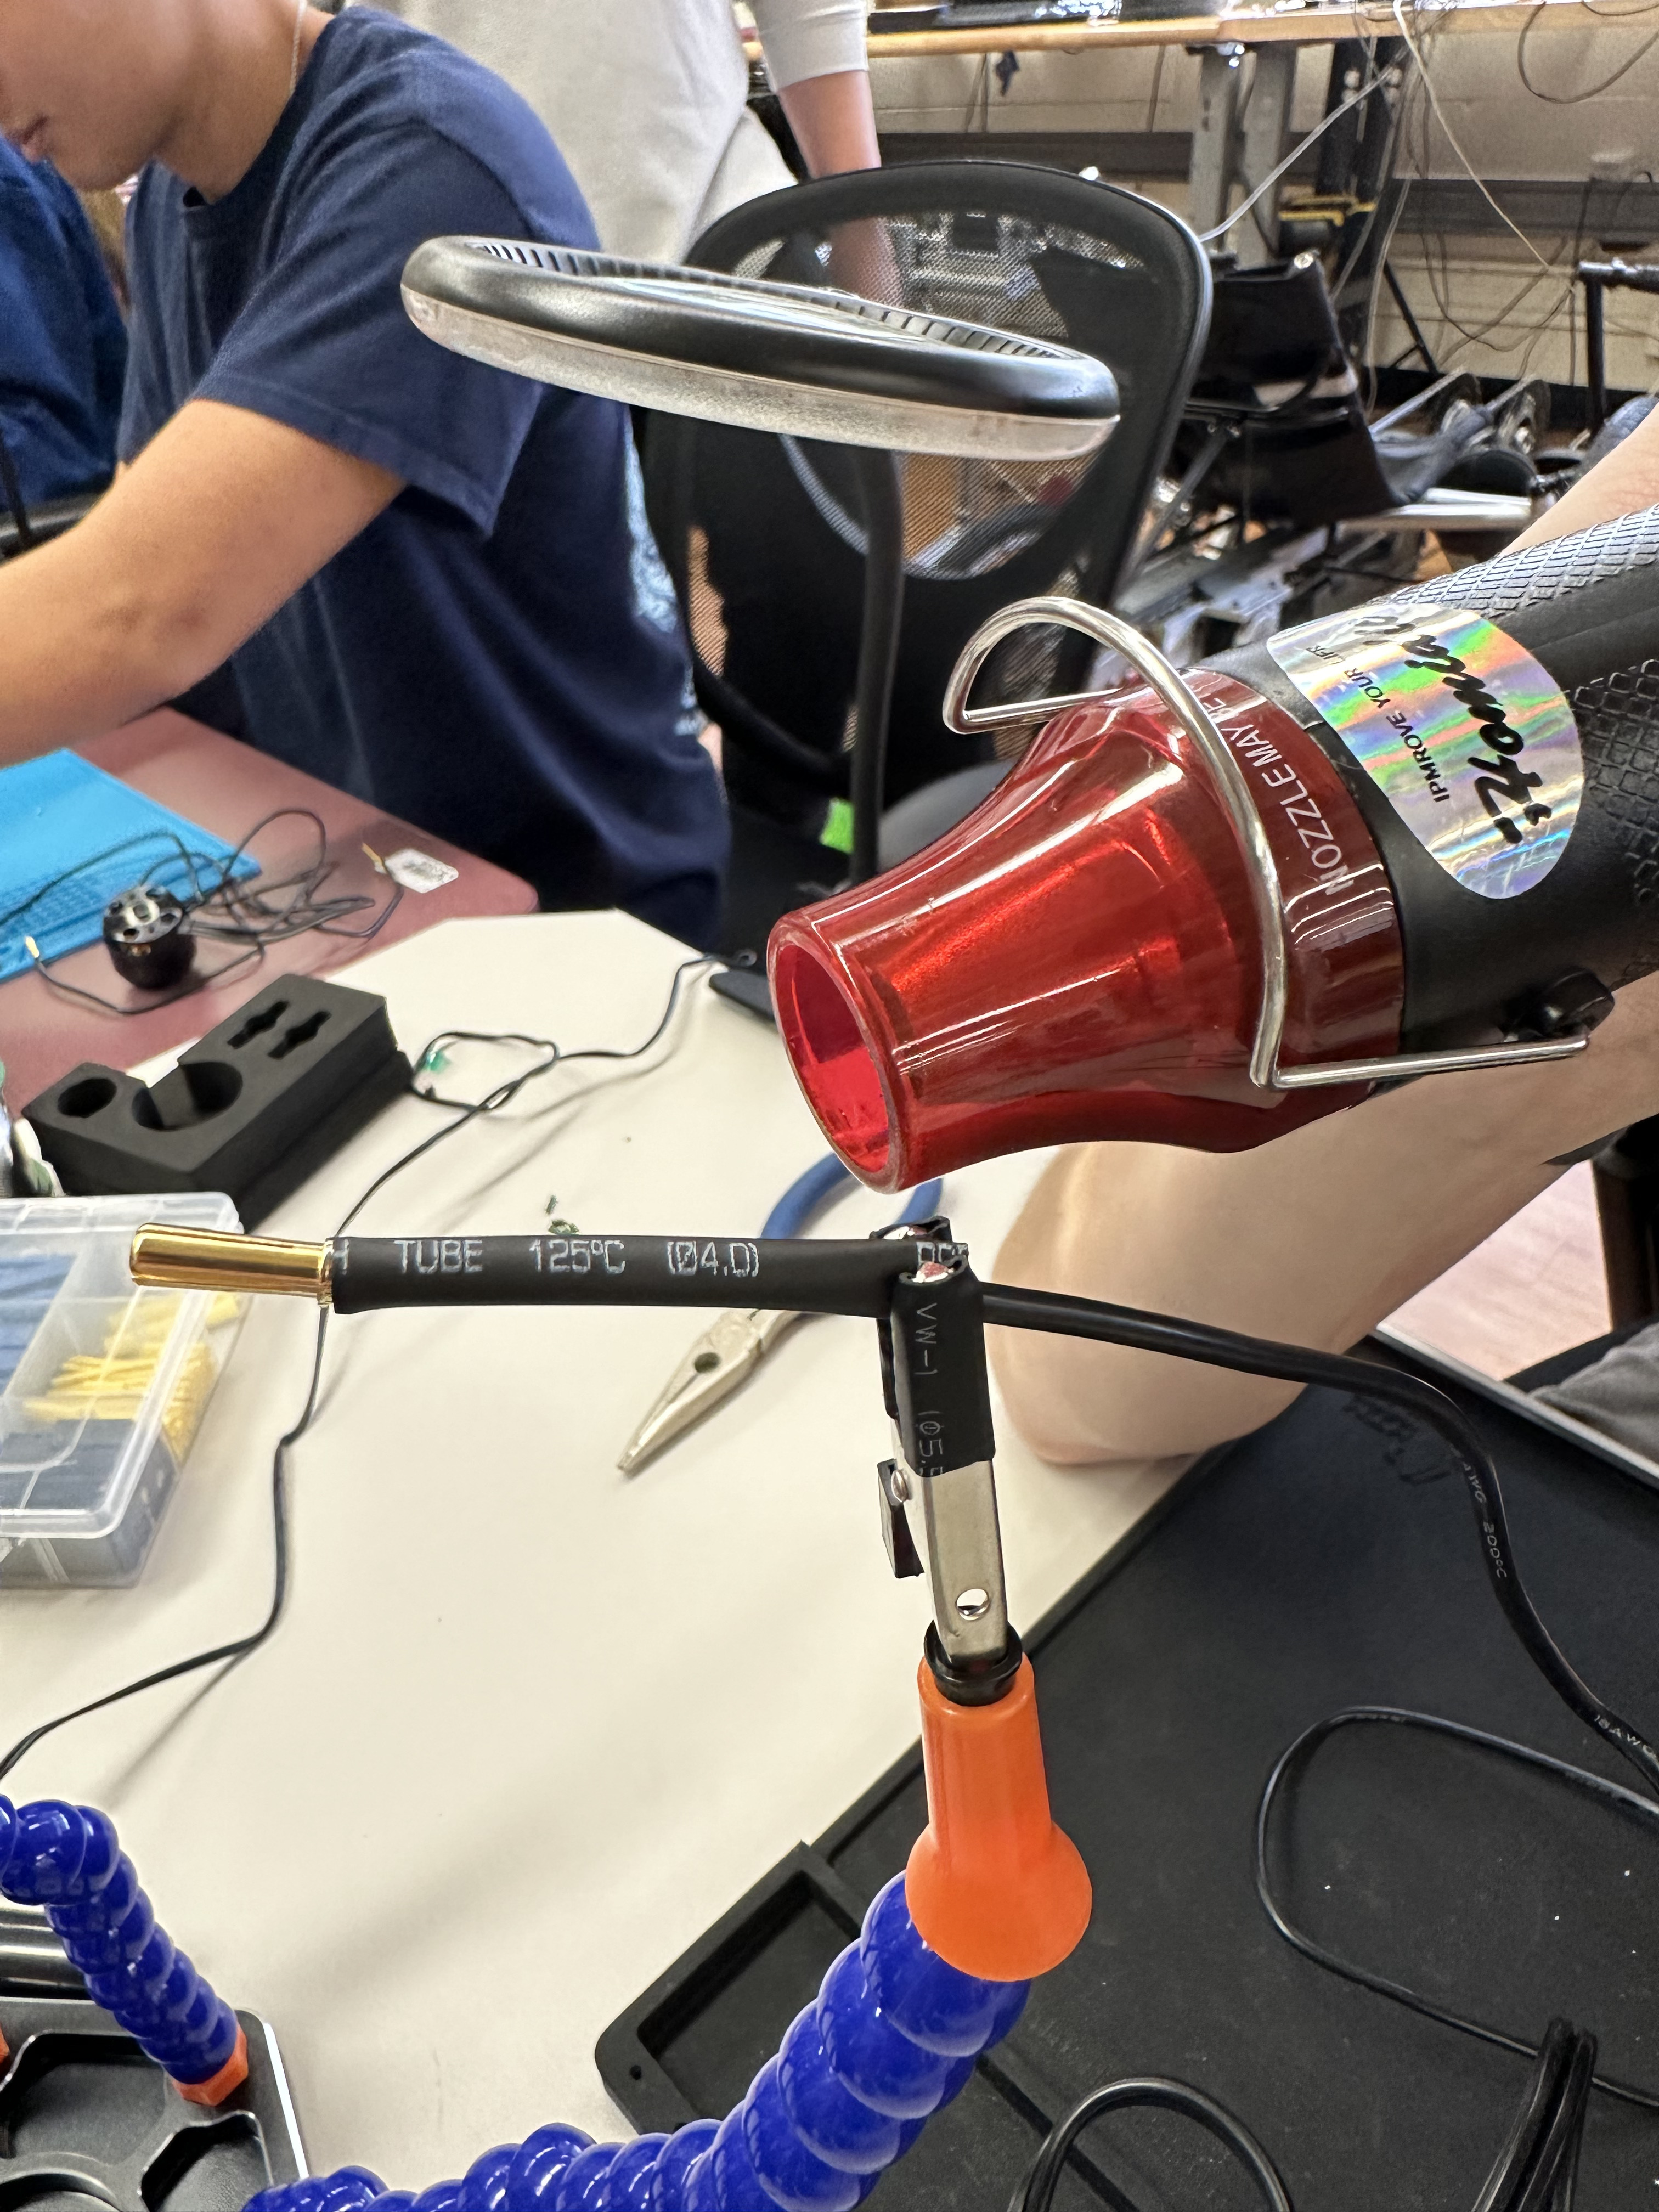
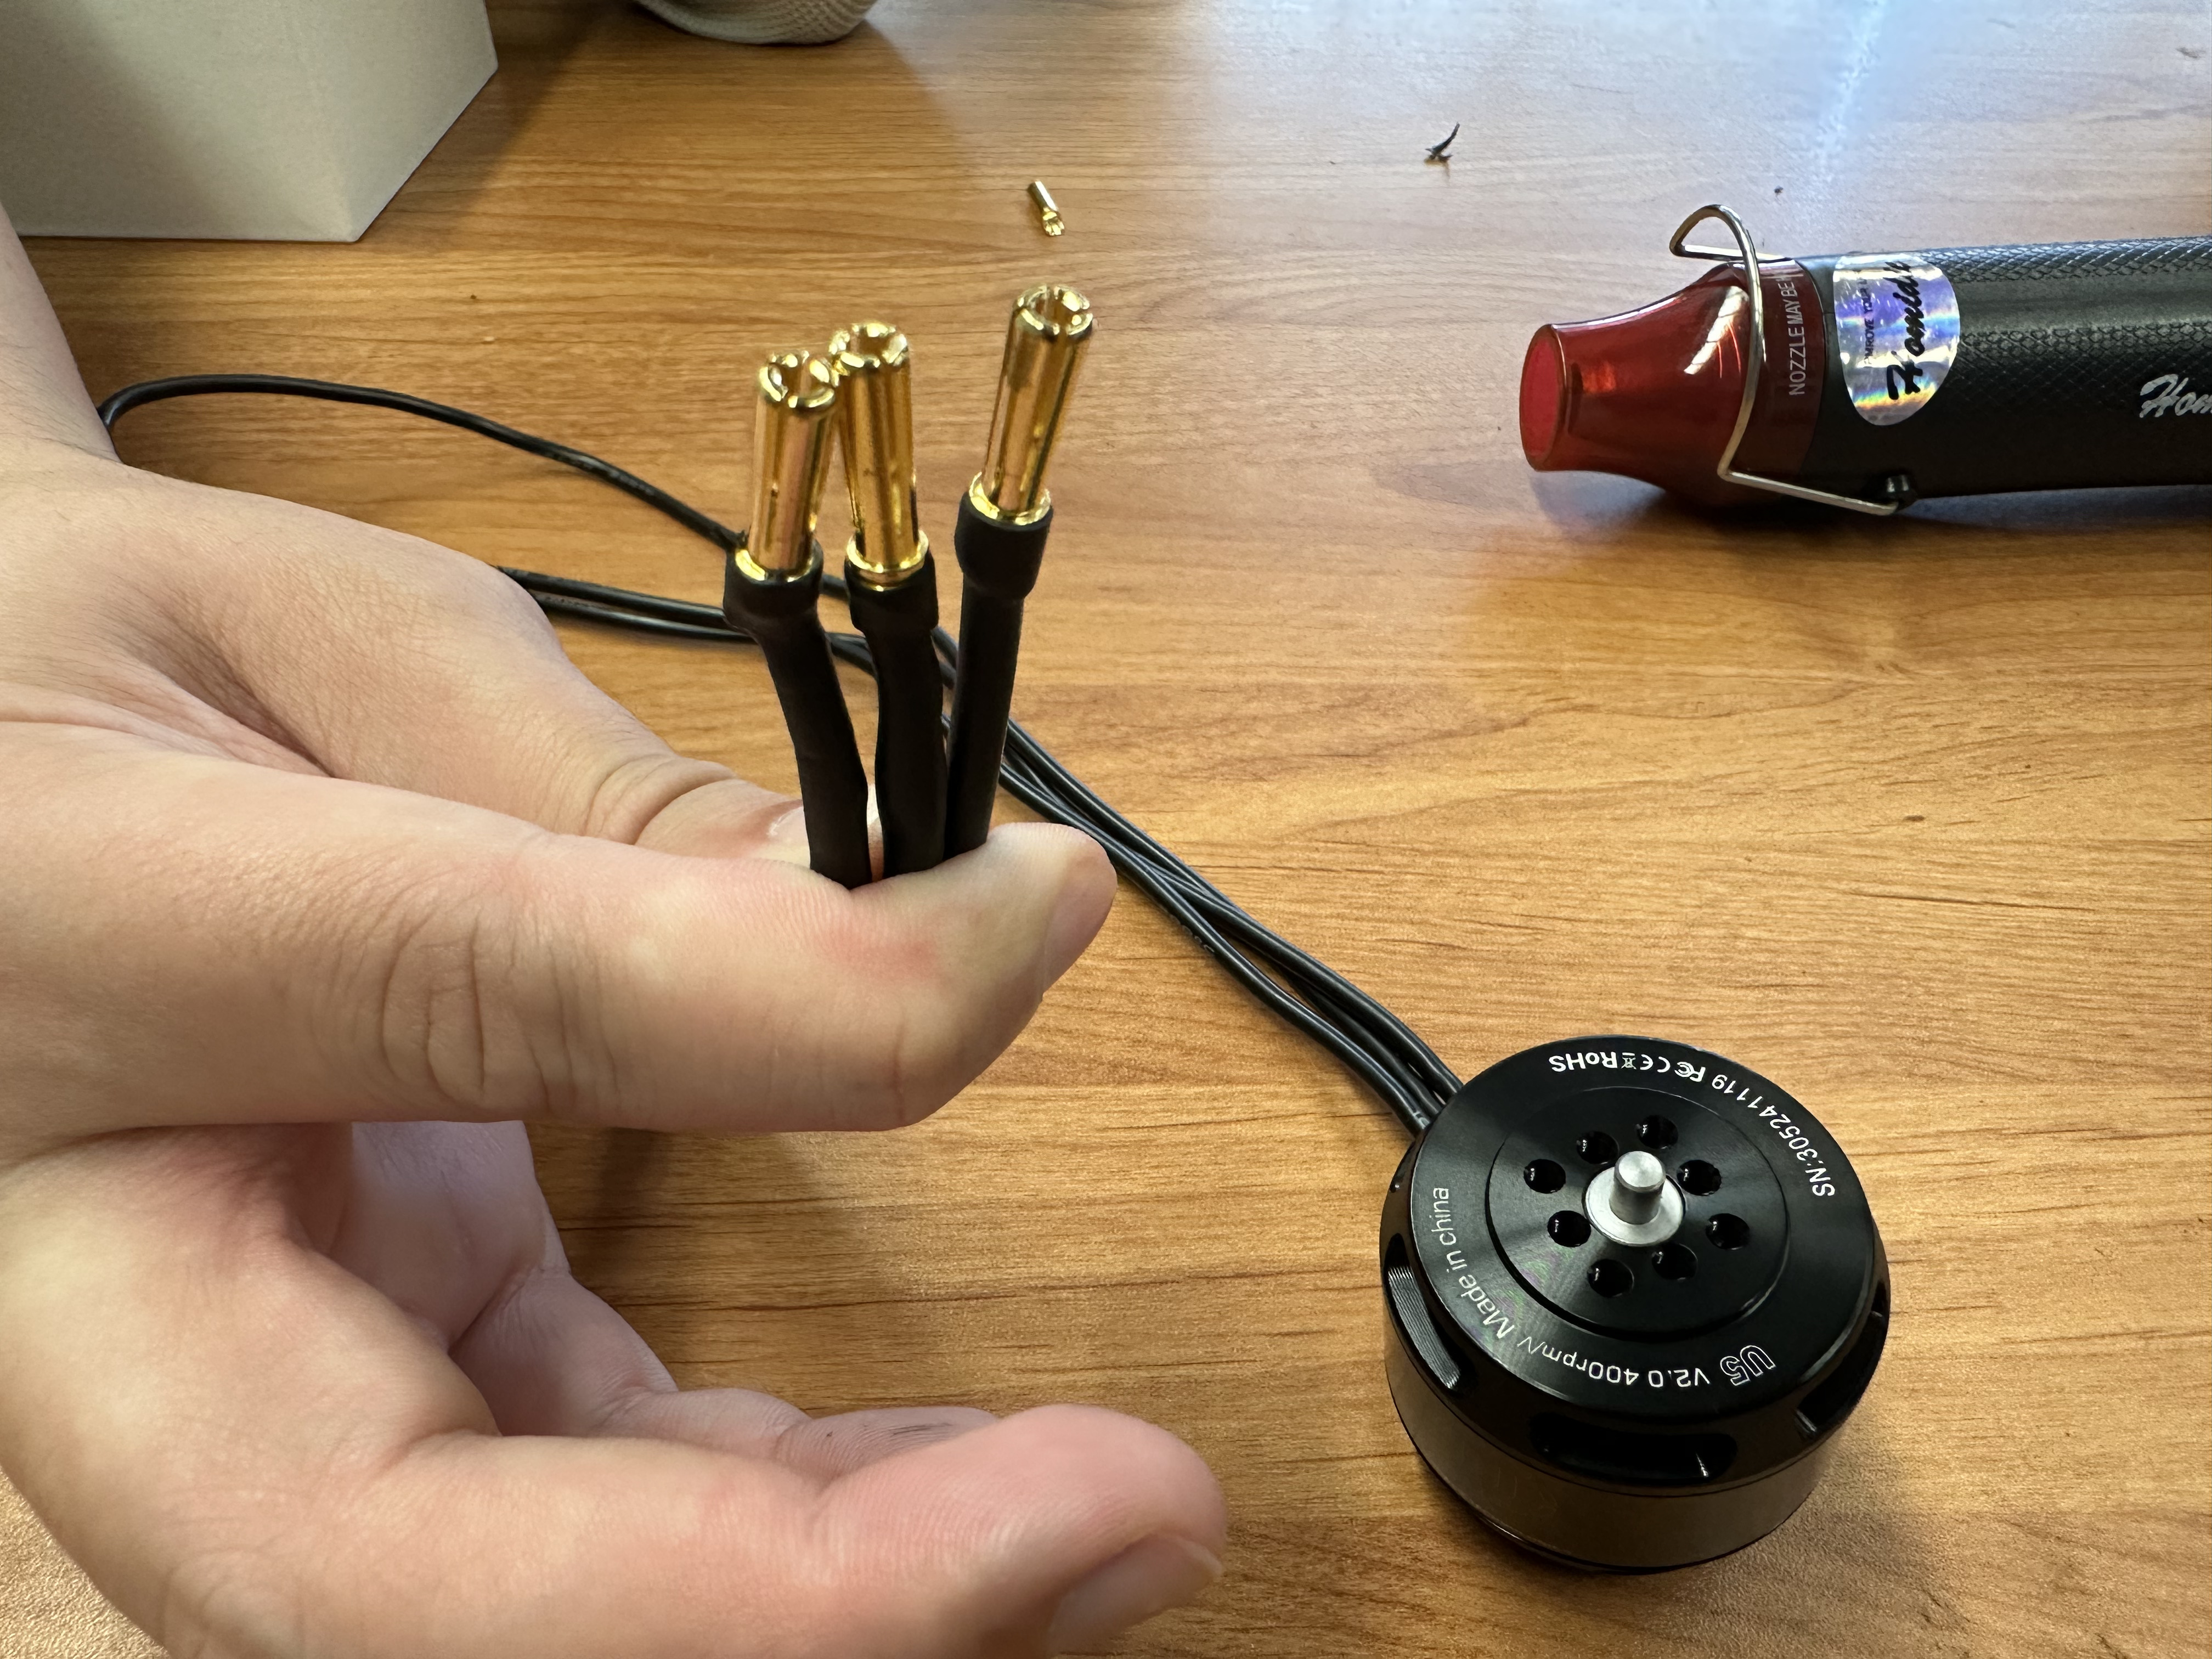
7. Apply Heat Shrink Tubing
- Slide a properly sized heat shrink tube over the connector.
- Position it to cover the bulge.
- Use a heat gun to shrink the tubing snugly.
8. Repeat for Remaining Connectors
- Repeat steps 2–7 for all three motor wires.
- Inspect all solder joints for consistency and quality.
9. Commission the Motor
- Once all connectors are properly soldered and insulated, the motor is ready for use.
10. Clean Up
- Turn off all tools and equipment.
- Dispose of any leftover material or trash.
- We use lead-free solder, but treat it like leaded: 🧼 Wash your hands thoroughly.