Overview
At a glance
The Indoor Lab has 20 Parrot Bebop 2 drones. Check Known Issues for the condition of each one, then follow the set-up steps here before you fly.
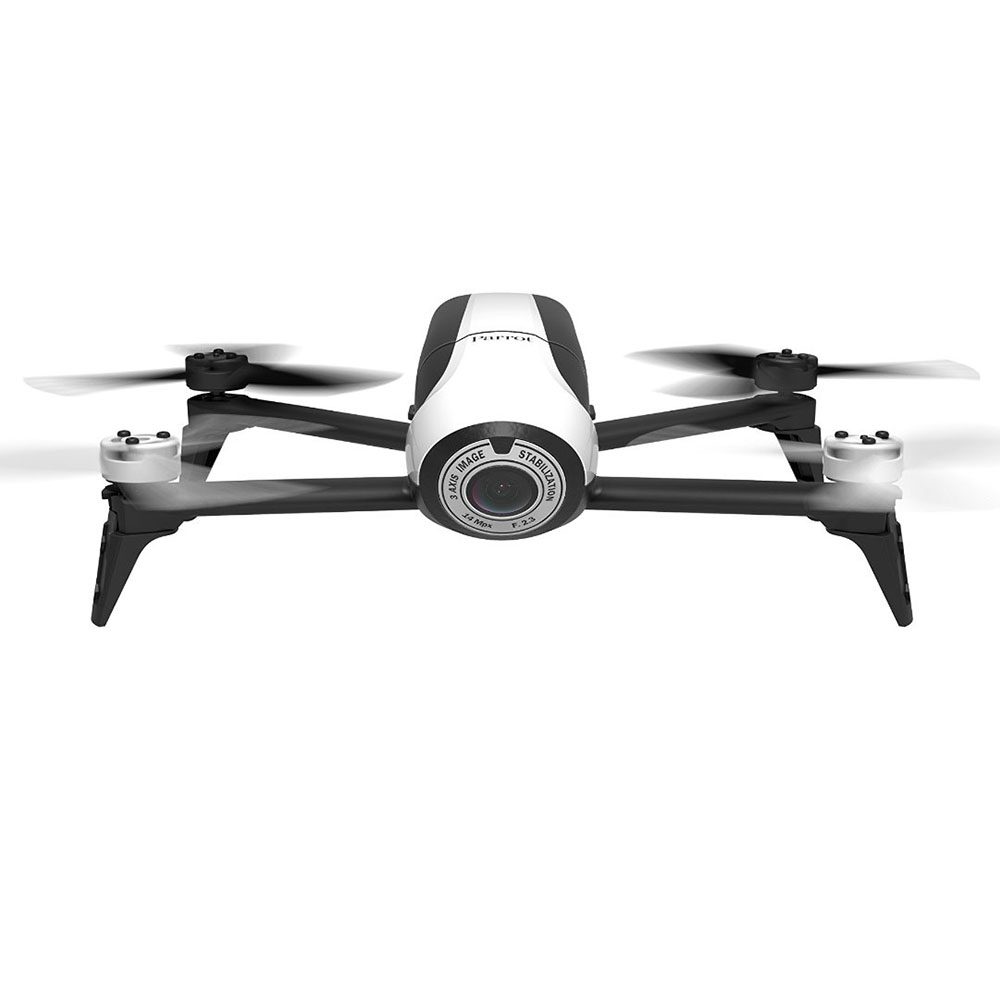
The Parrot Bebop 2 (Parrot product image).
The Bebops fly in the Indoor Lab. The Bebop fleet is to be replaced.
Manual
Known Issues
Read Known Issues before you fly: it has the condition of each Bebop and a propeller problem you must know about.
Battery status is on Batteries. The addresses are on IP Reservations.
Set Up
- Check the Known Issues, and pick a Bebop marked ready to fly.
- Grab a battery, and insert it into the Bebop. Check the Batteries page first.
- Double press the button on the rear until the LED turns on. It chirps and whirrs to show it is starting up.
- Make sure the propellers are tight, using the propeller tool below.
- Check that each propeller is on the correct motor. Nothing stops you from putting the wrong propellers on the wrong motors, so watch the video on the Autonomy page for details.
- Inspect the arms for bending.
- Use hot glue to attach a motion capture marker, or pick a Bebop that already has one.
Propeller Tool
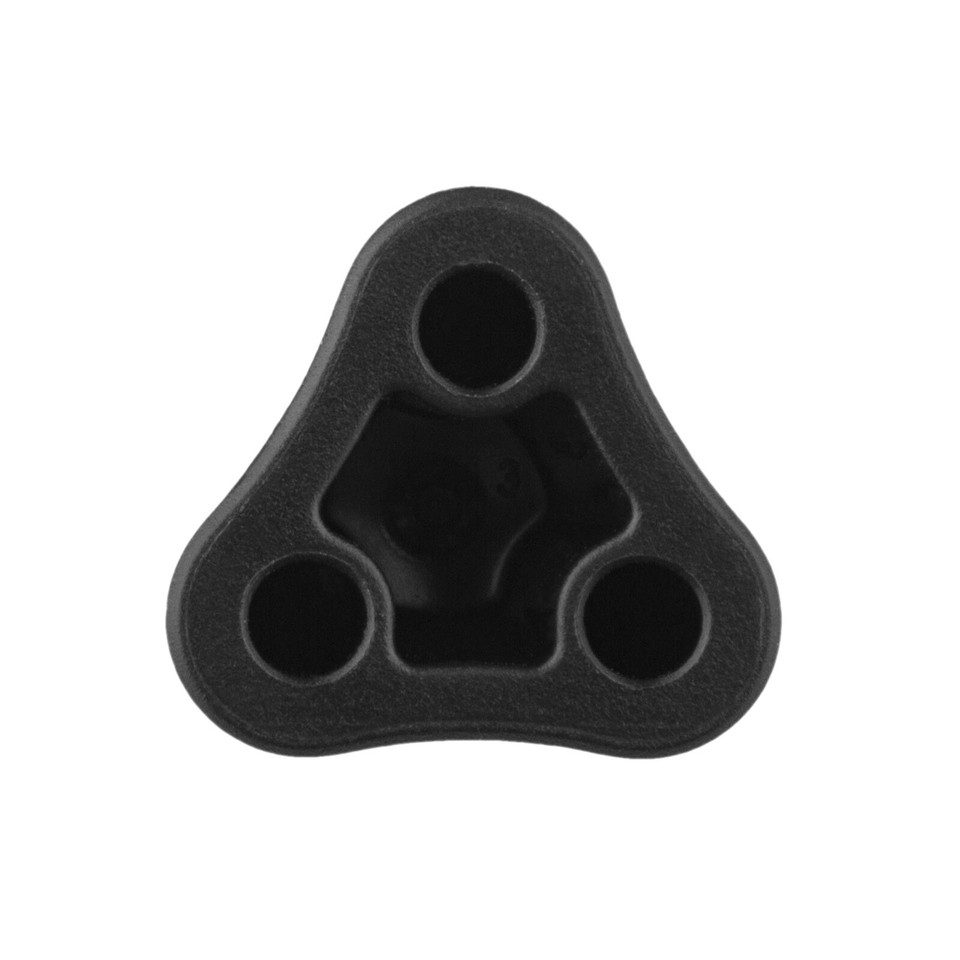
The Bebop 2 propeller tool, seen from the open end (Parrot product image).
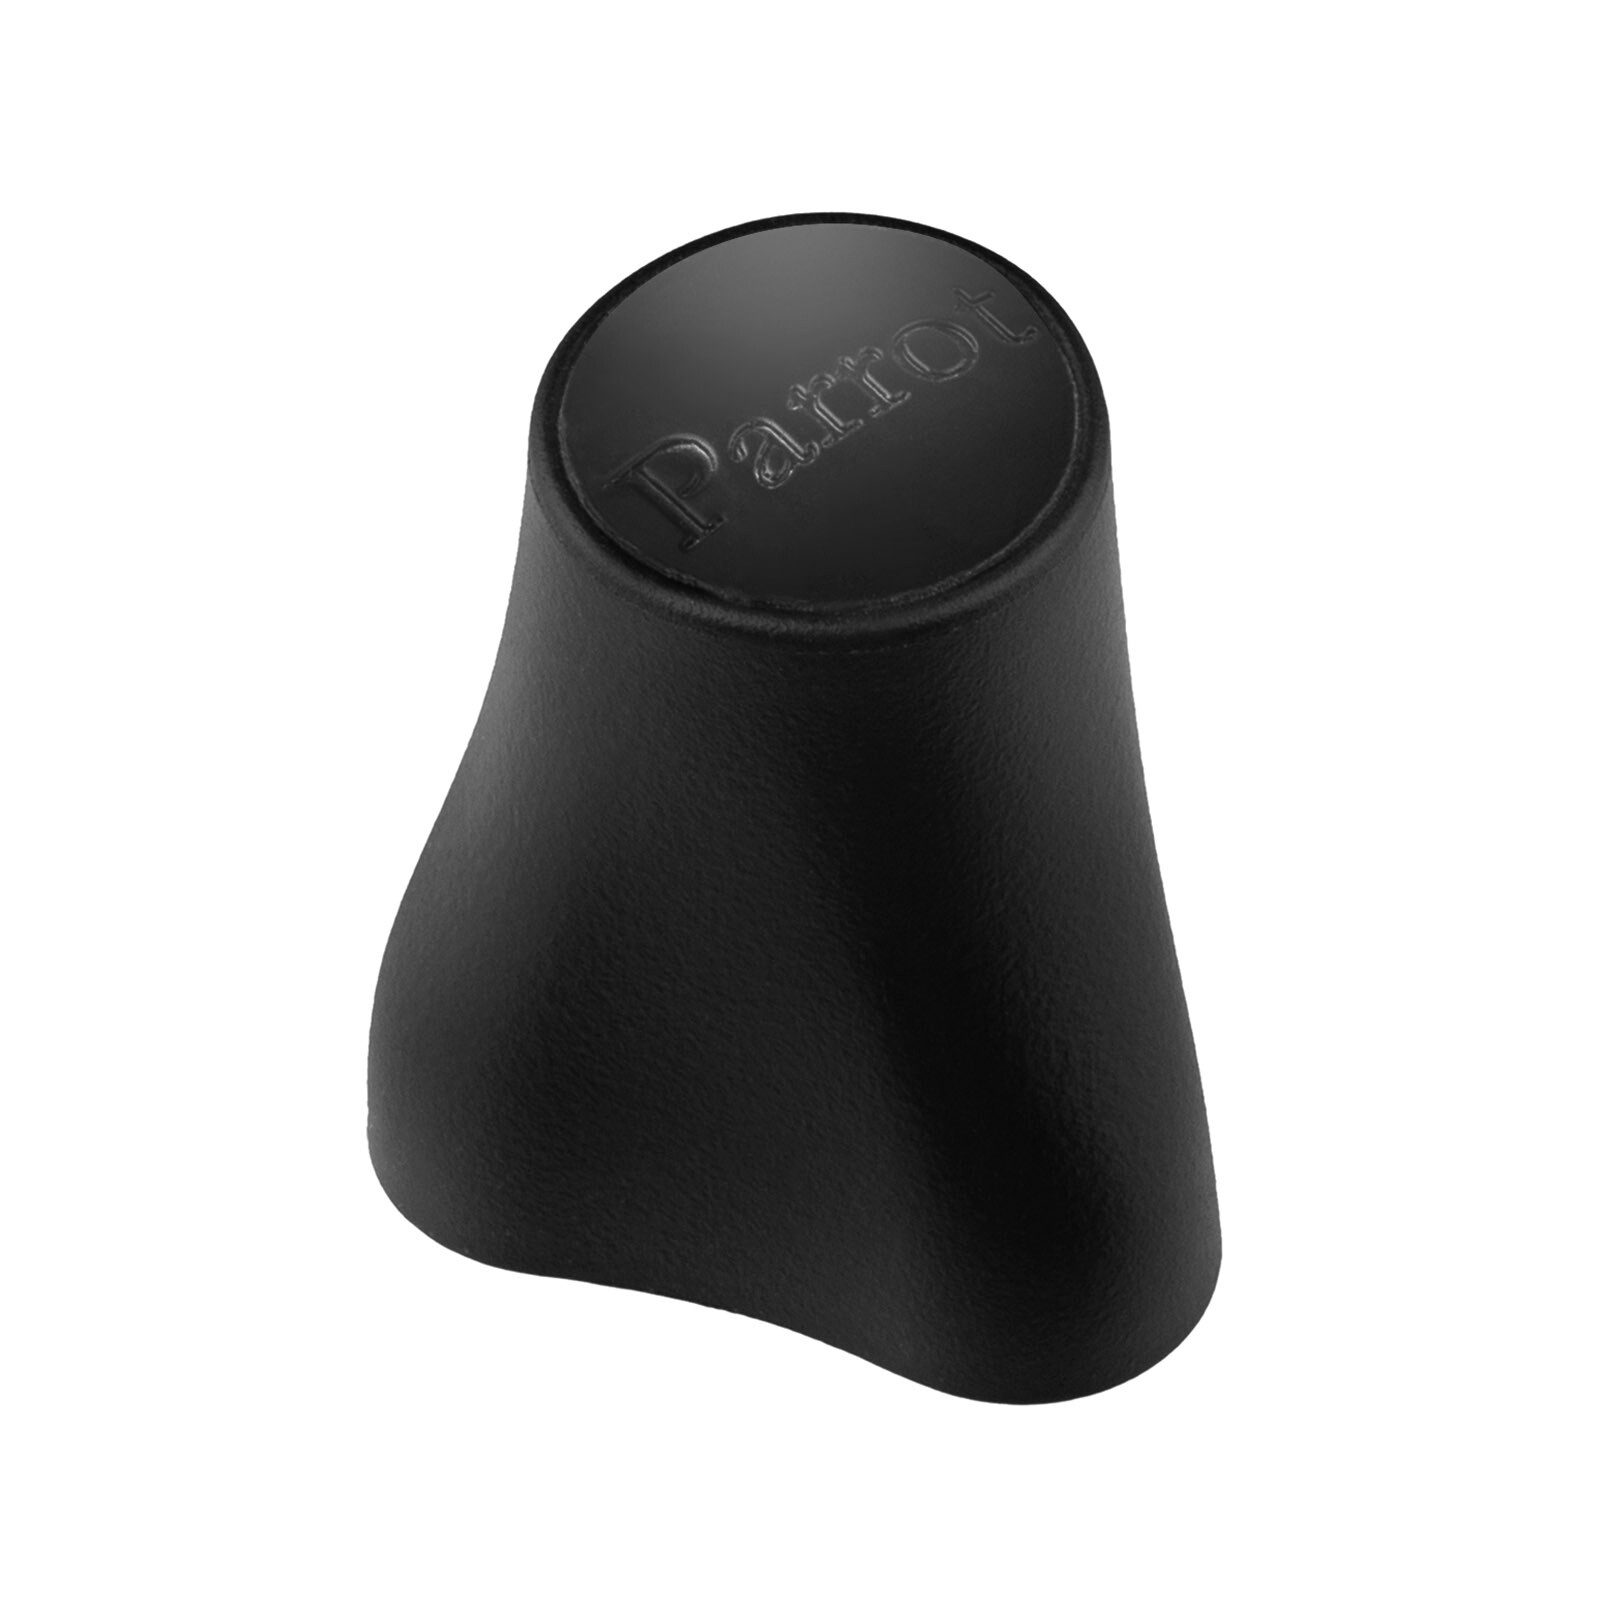
The Bebop 2 propeller tool, seen from the side (Parrot product image).
Next
To run code on a Bebop, see Autonomy.